
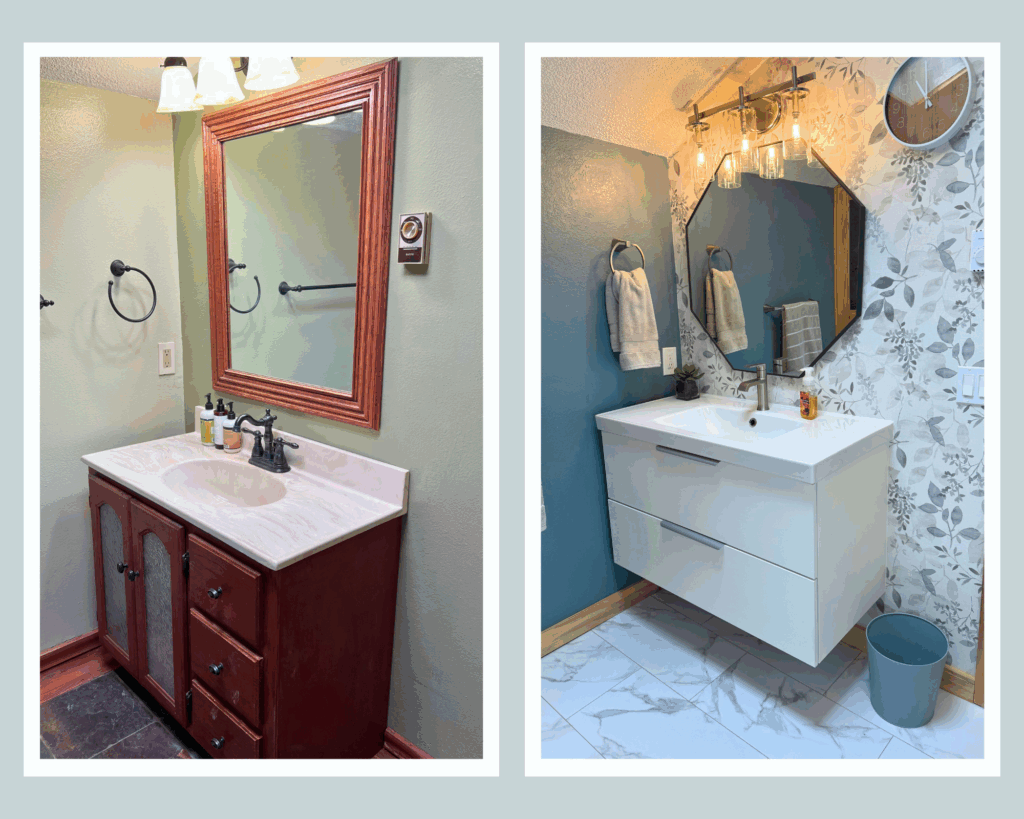
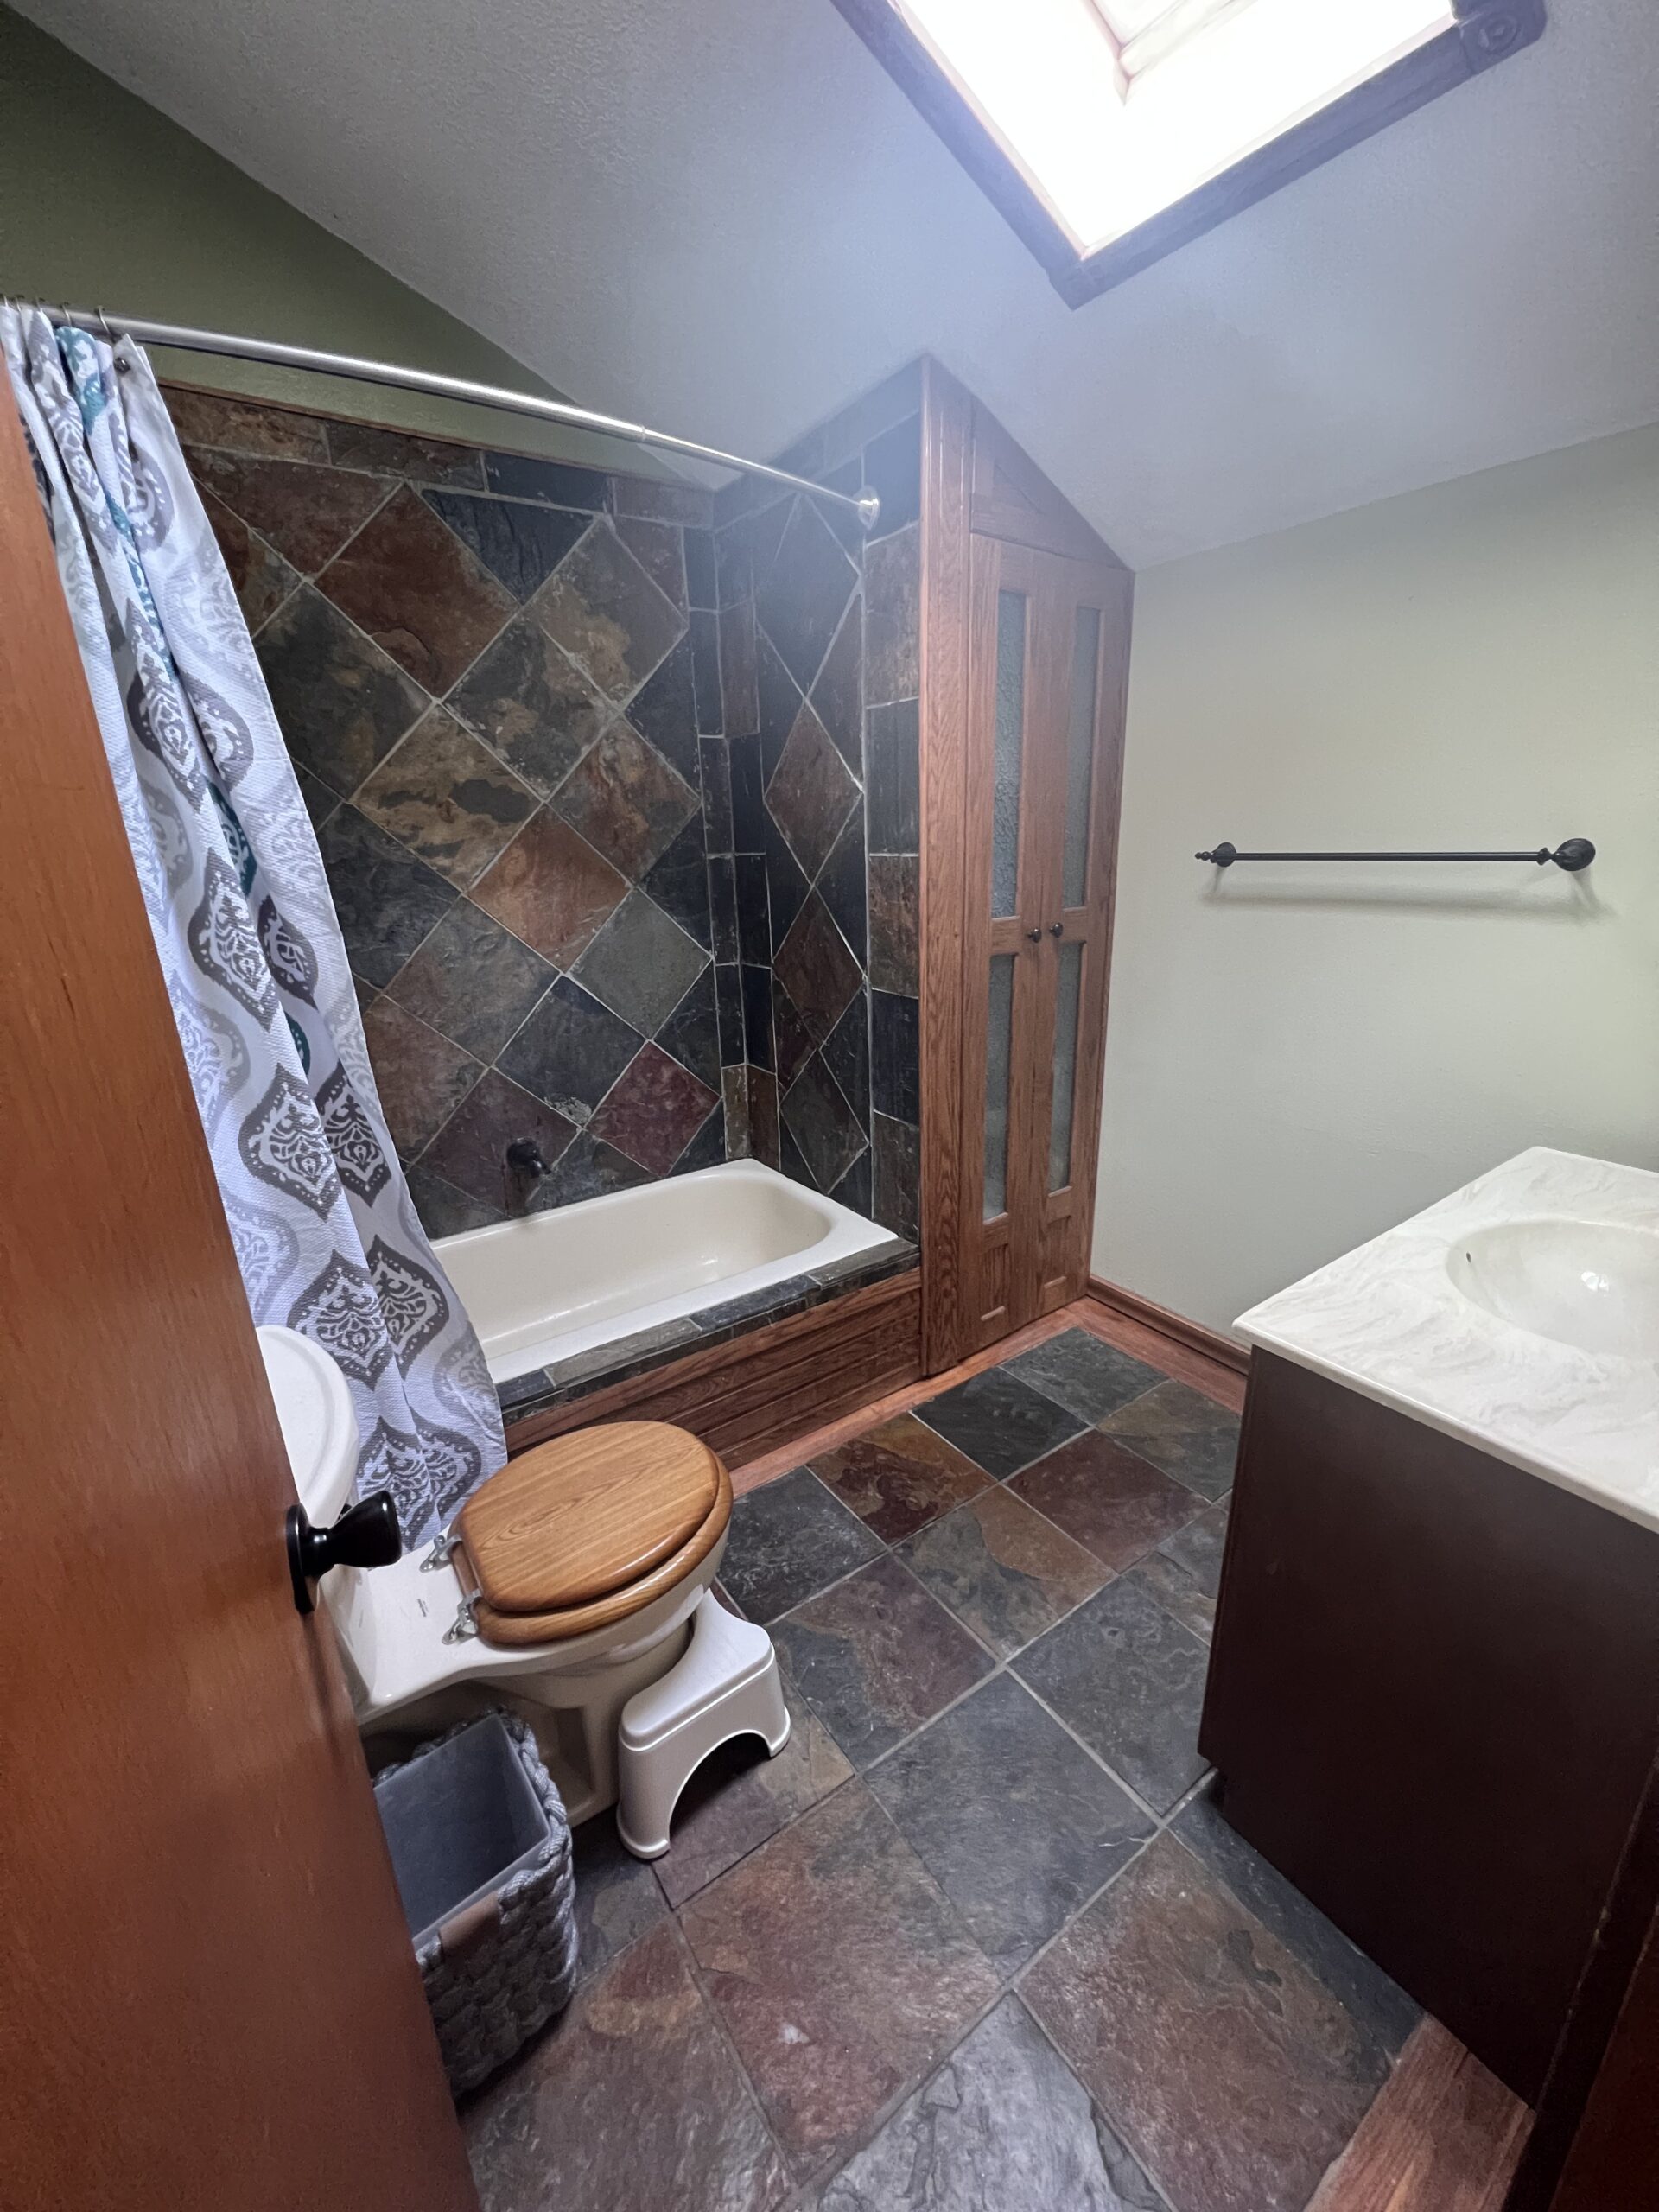
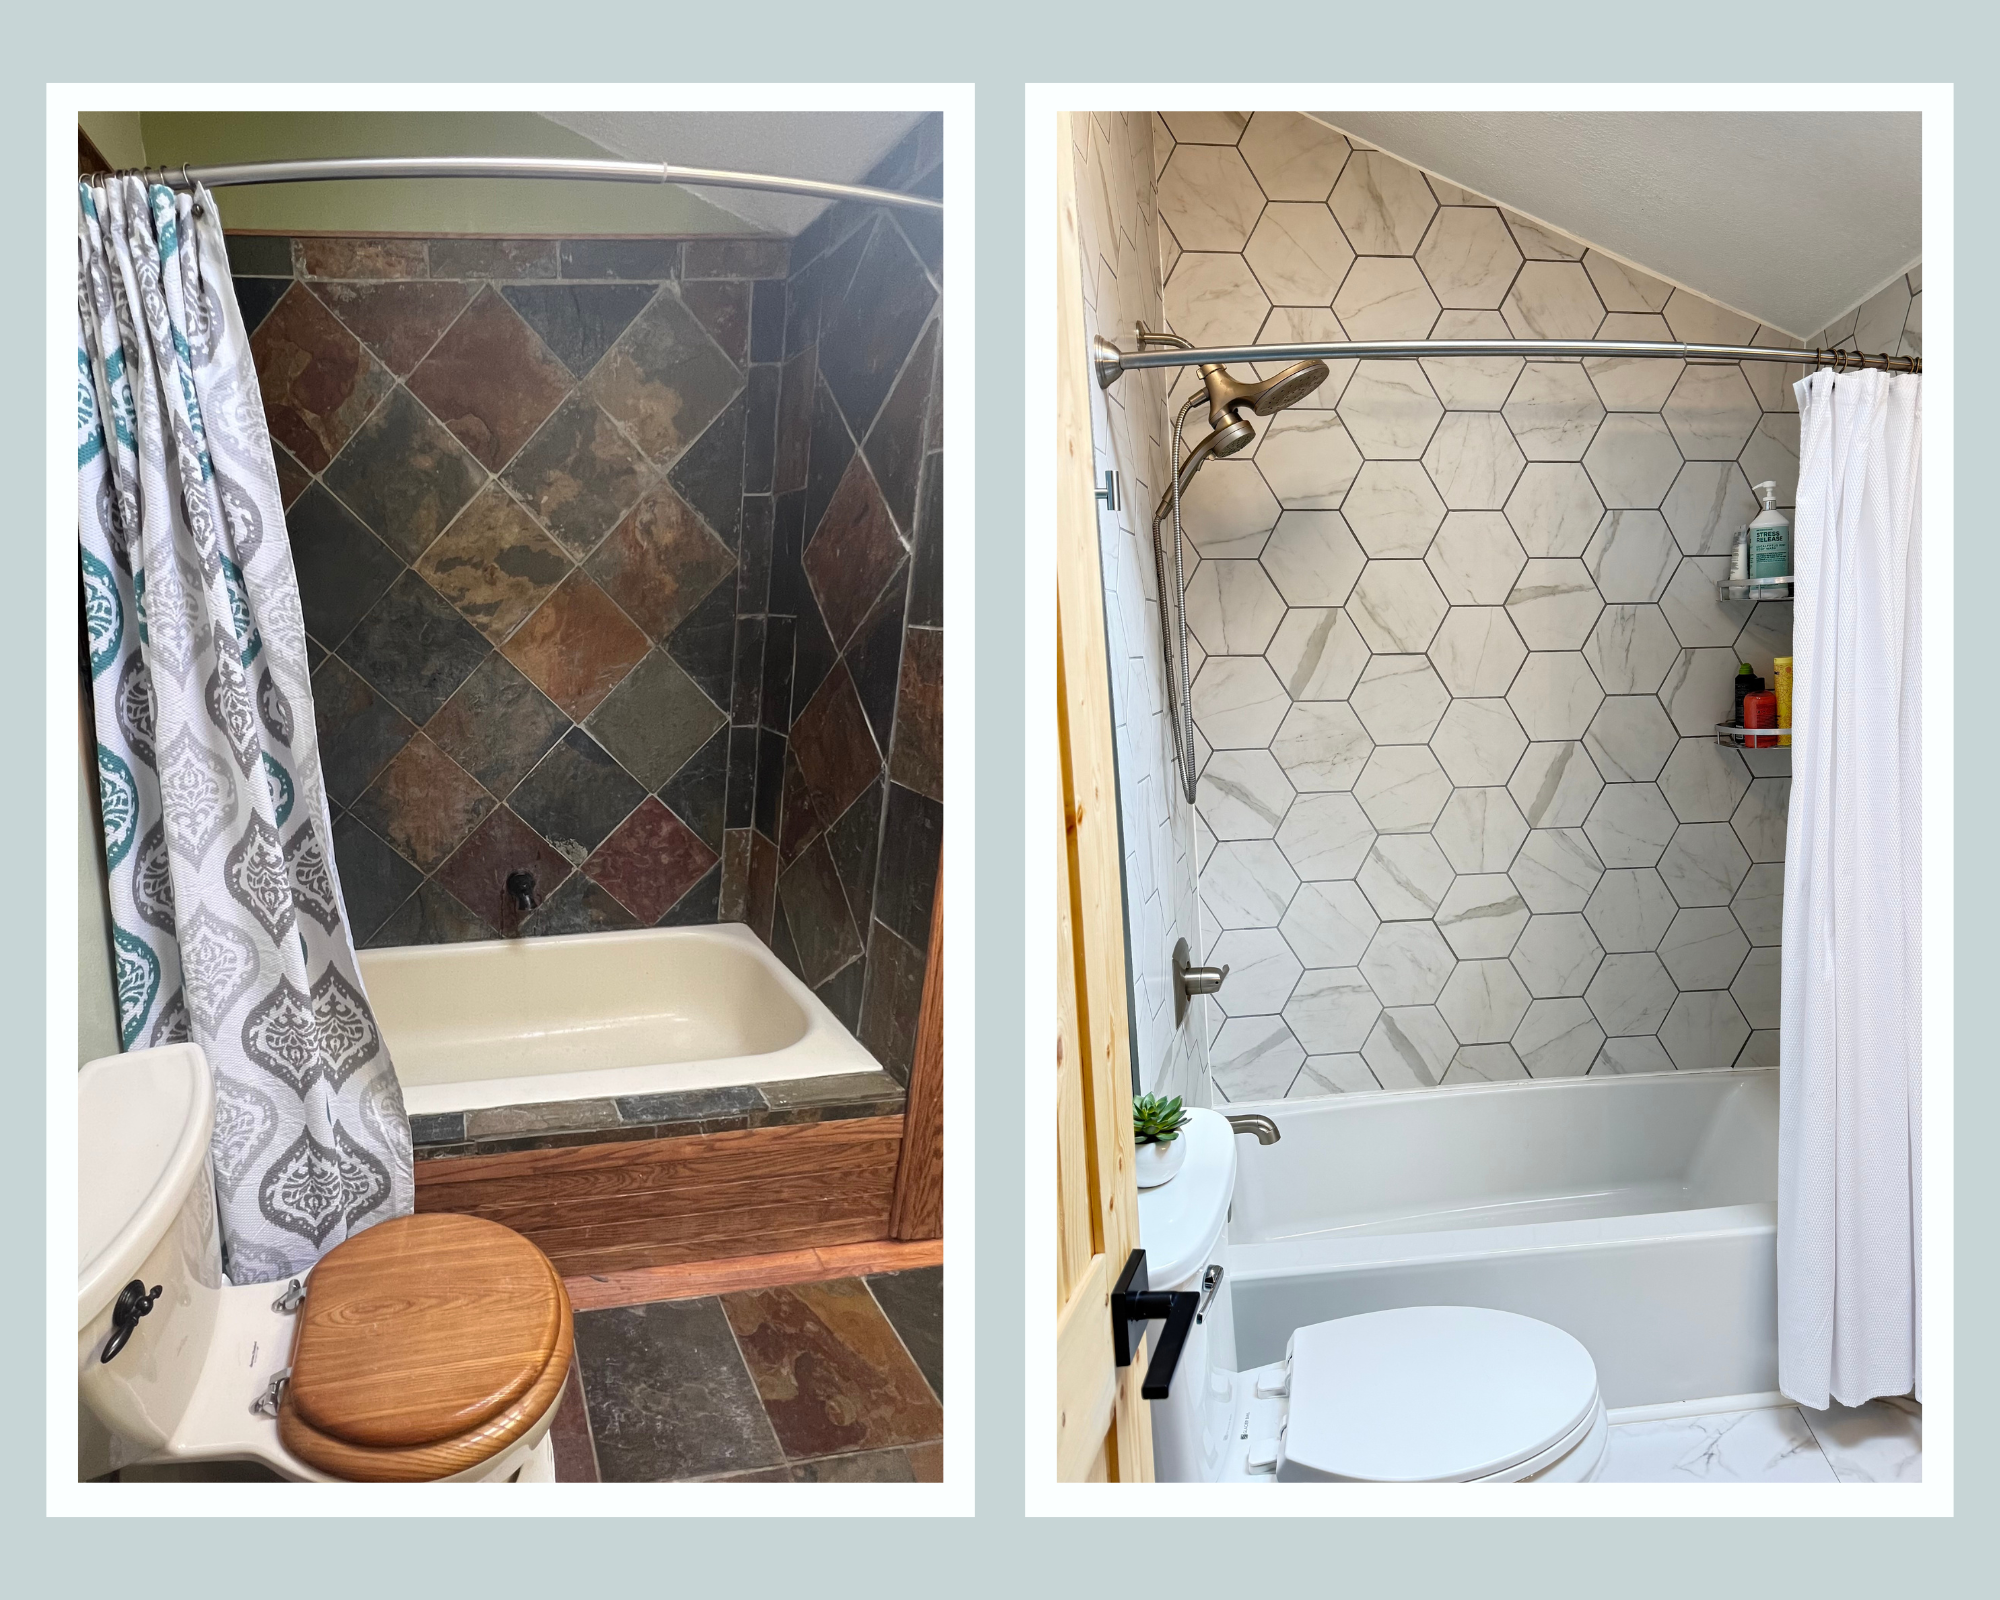
When we bought our 1980s mountain home, the bathroom had already been renovated… sort of. Dark slate tiles, a dated vanity, and an overall cave-like vibe (if caves were trimmed with dark wood on nearly every surface). It all made the space feel smaller and heavier than it actually was. It definitely isn’t a big bathroom, and needed all of the help it could get to make the space feel larger.
We wanted something that still felt grounded and earthy, but with a fresh, modern calm. This bathroom needed light, warmth, and a touch of spa serenity—without completely scrubbing away its mountain feel.
The Before:
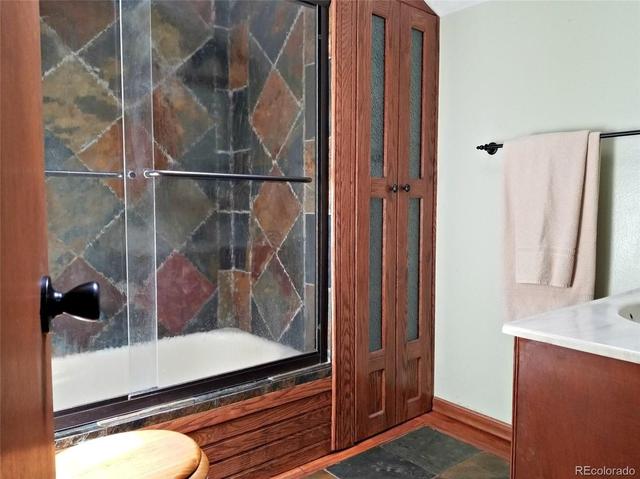
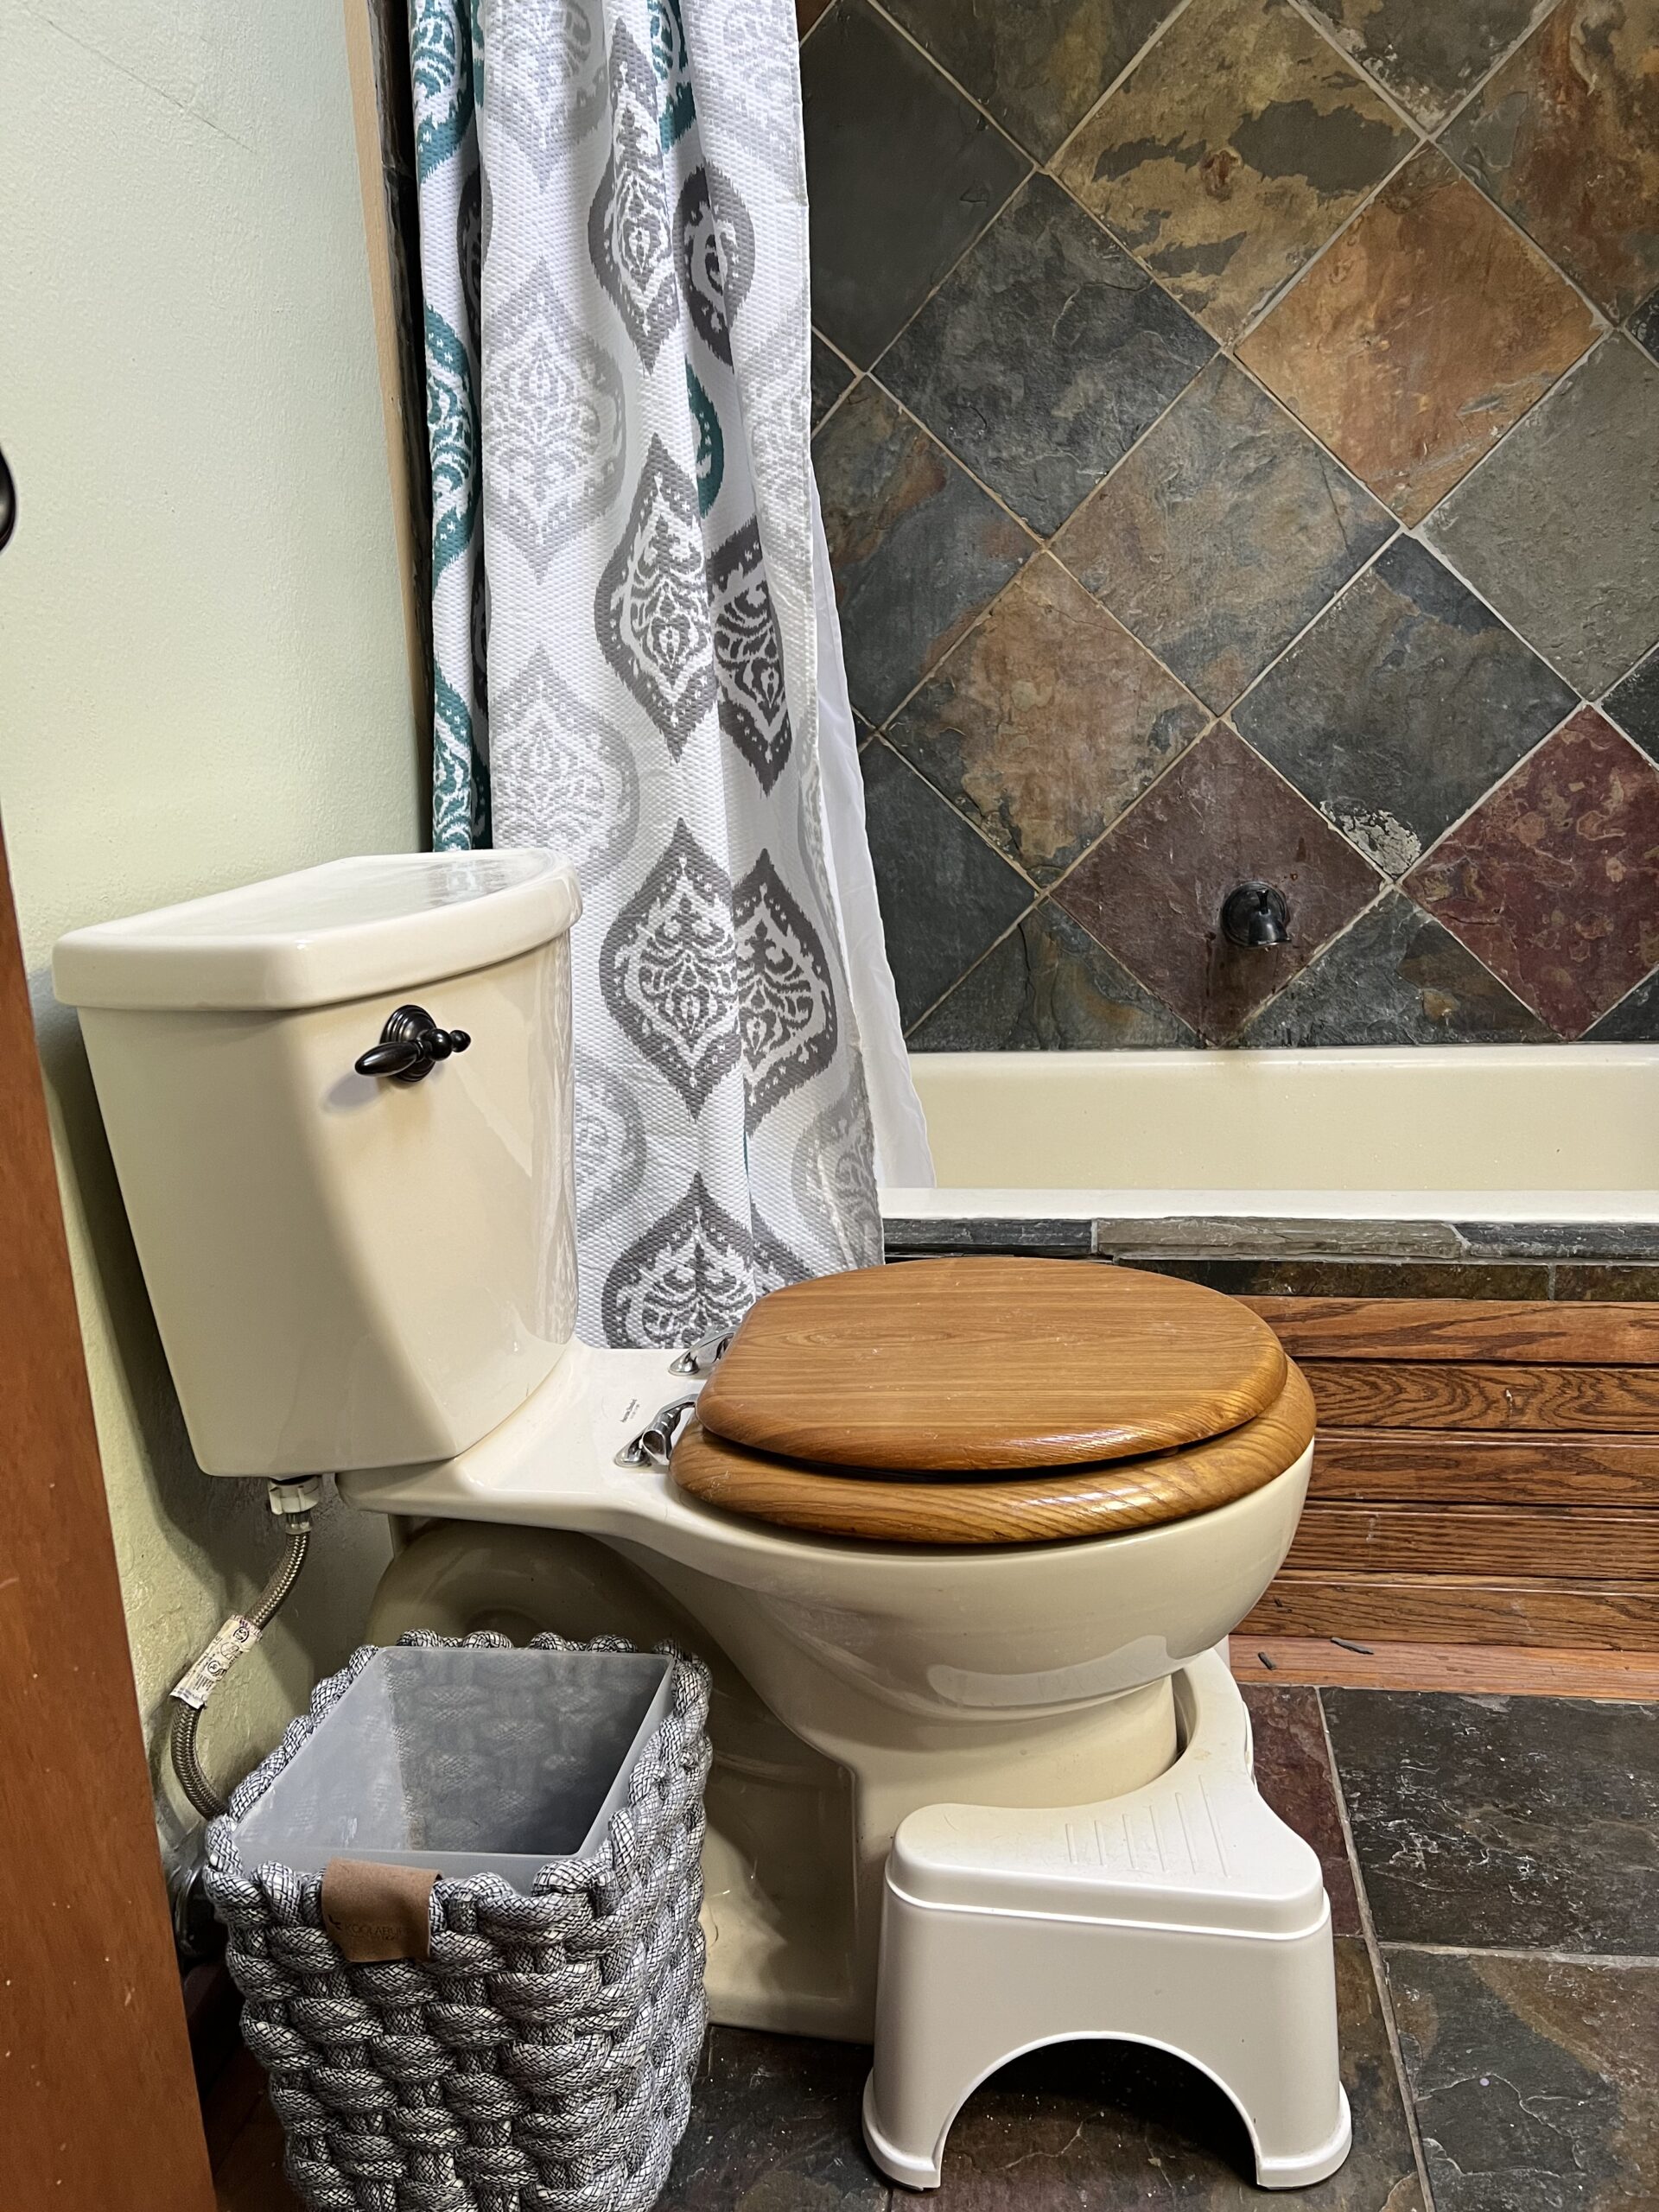
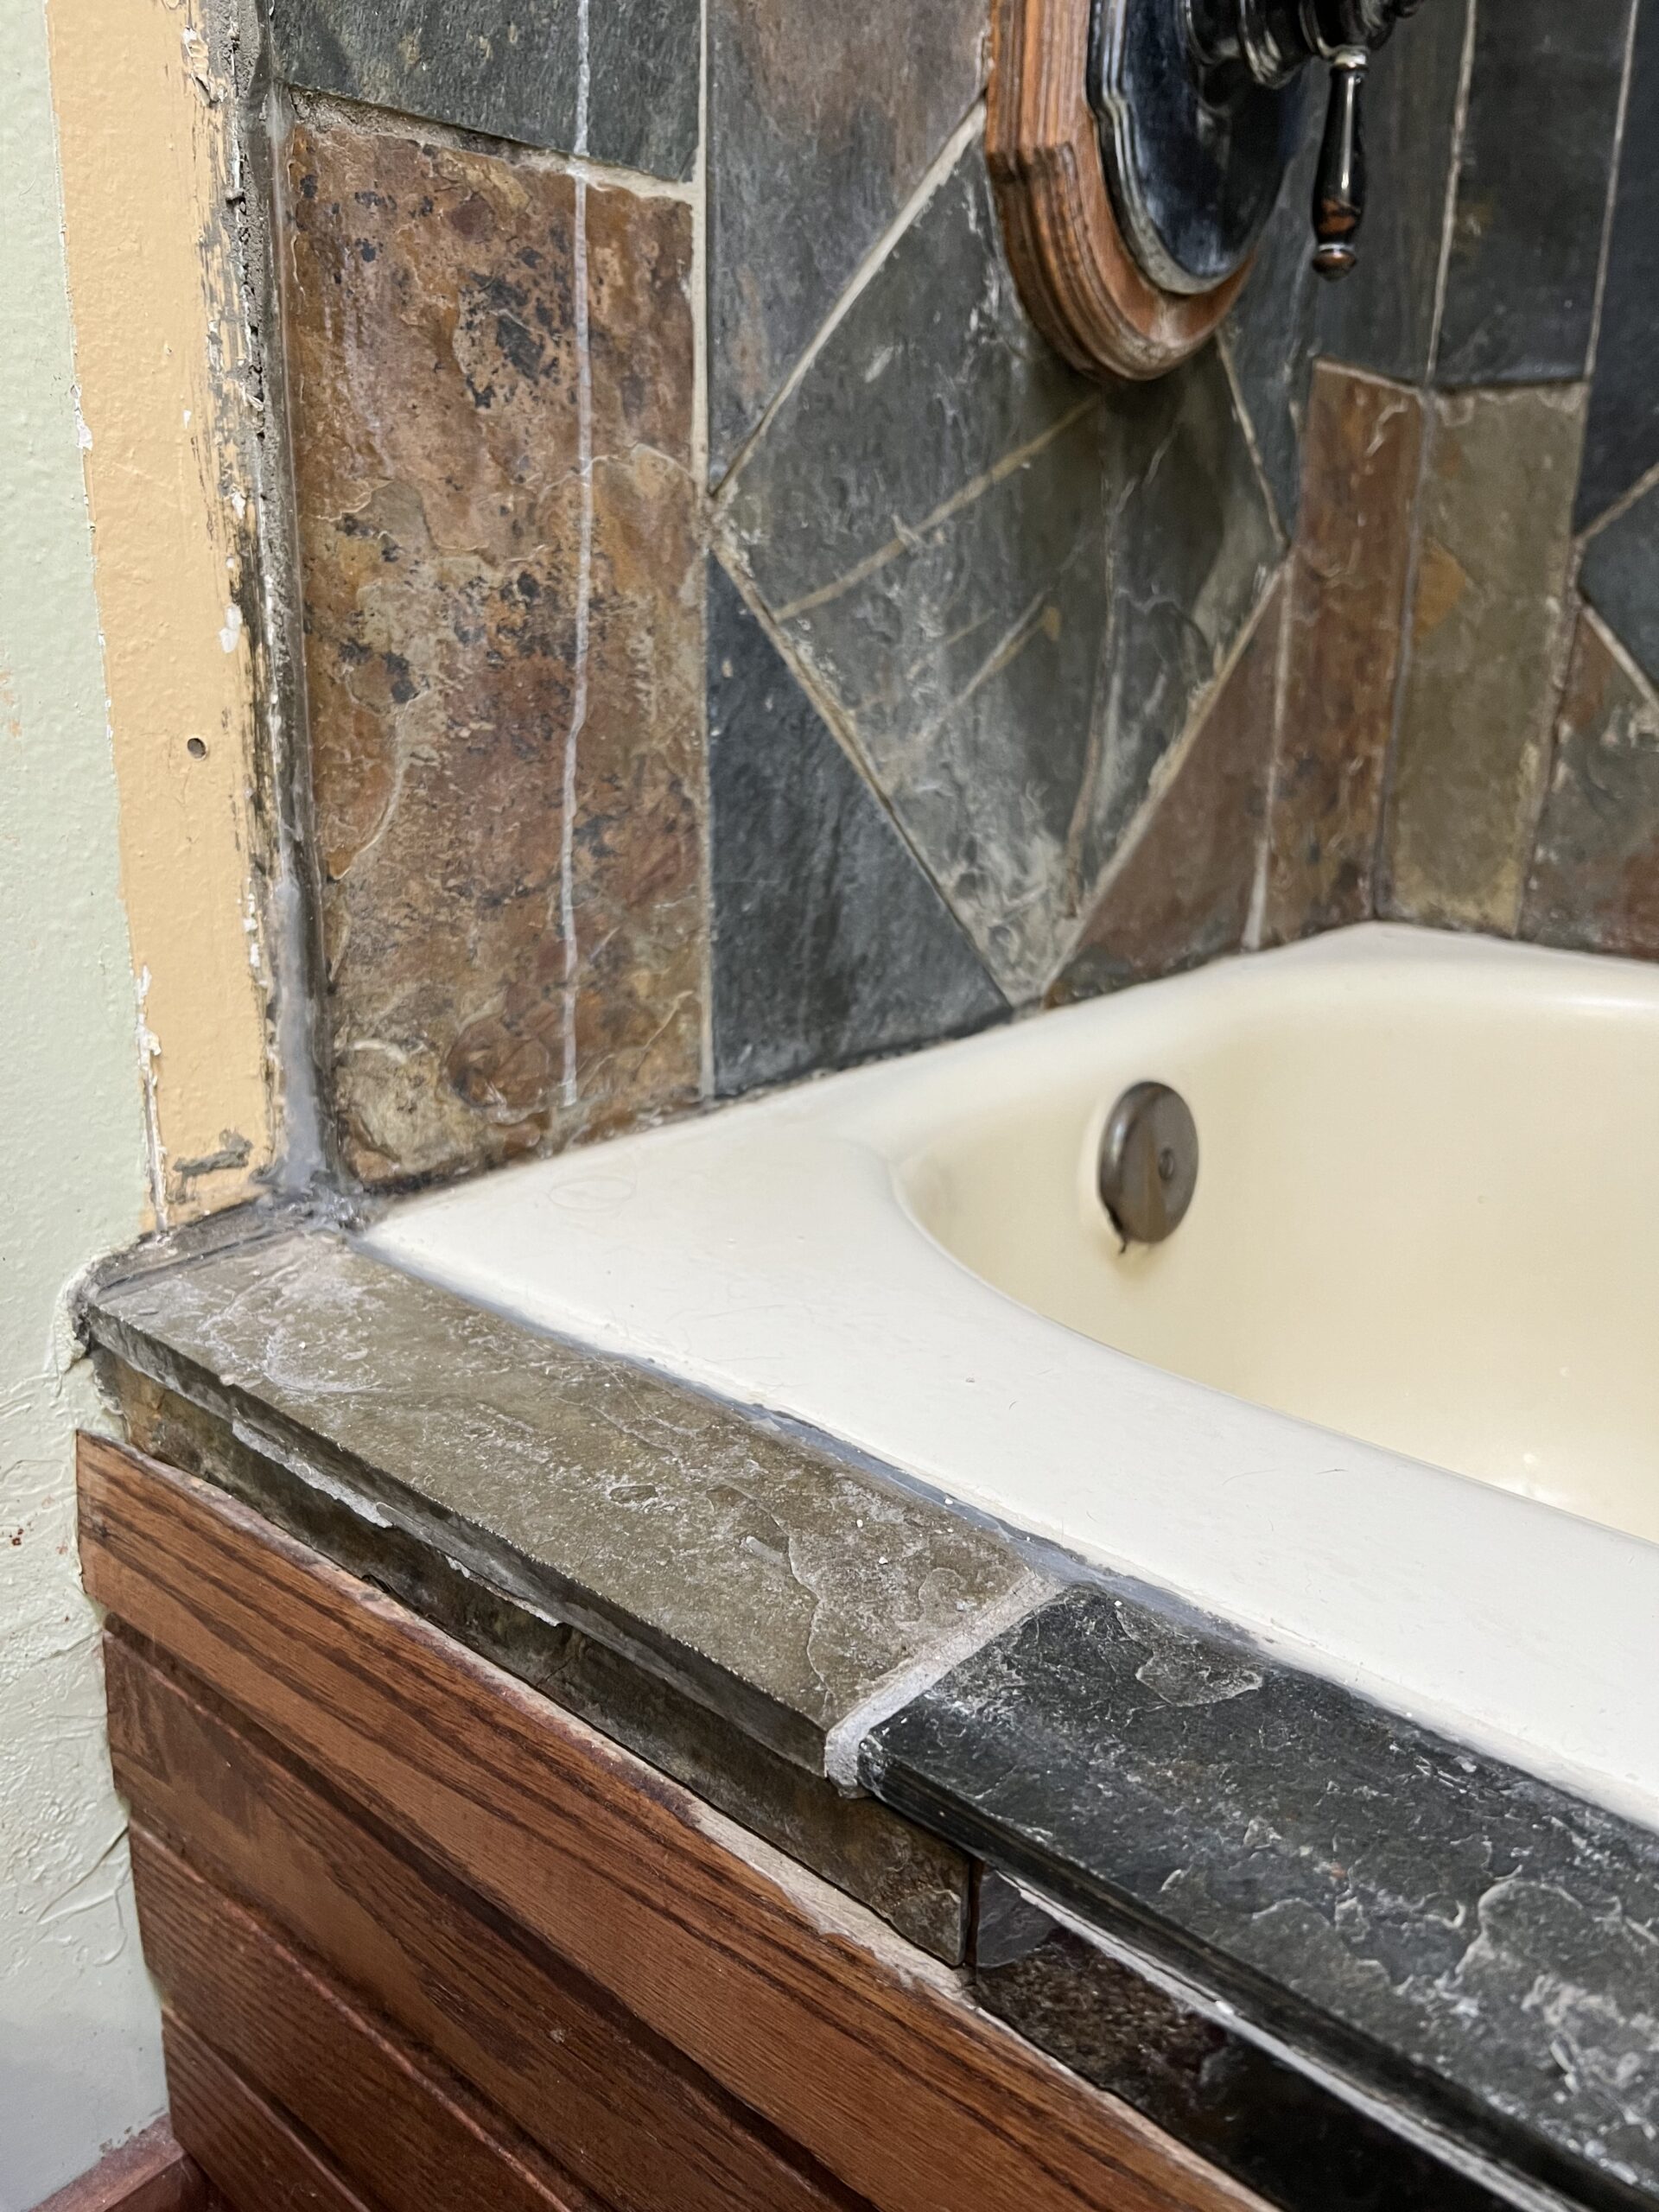
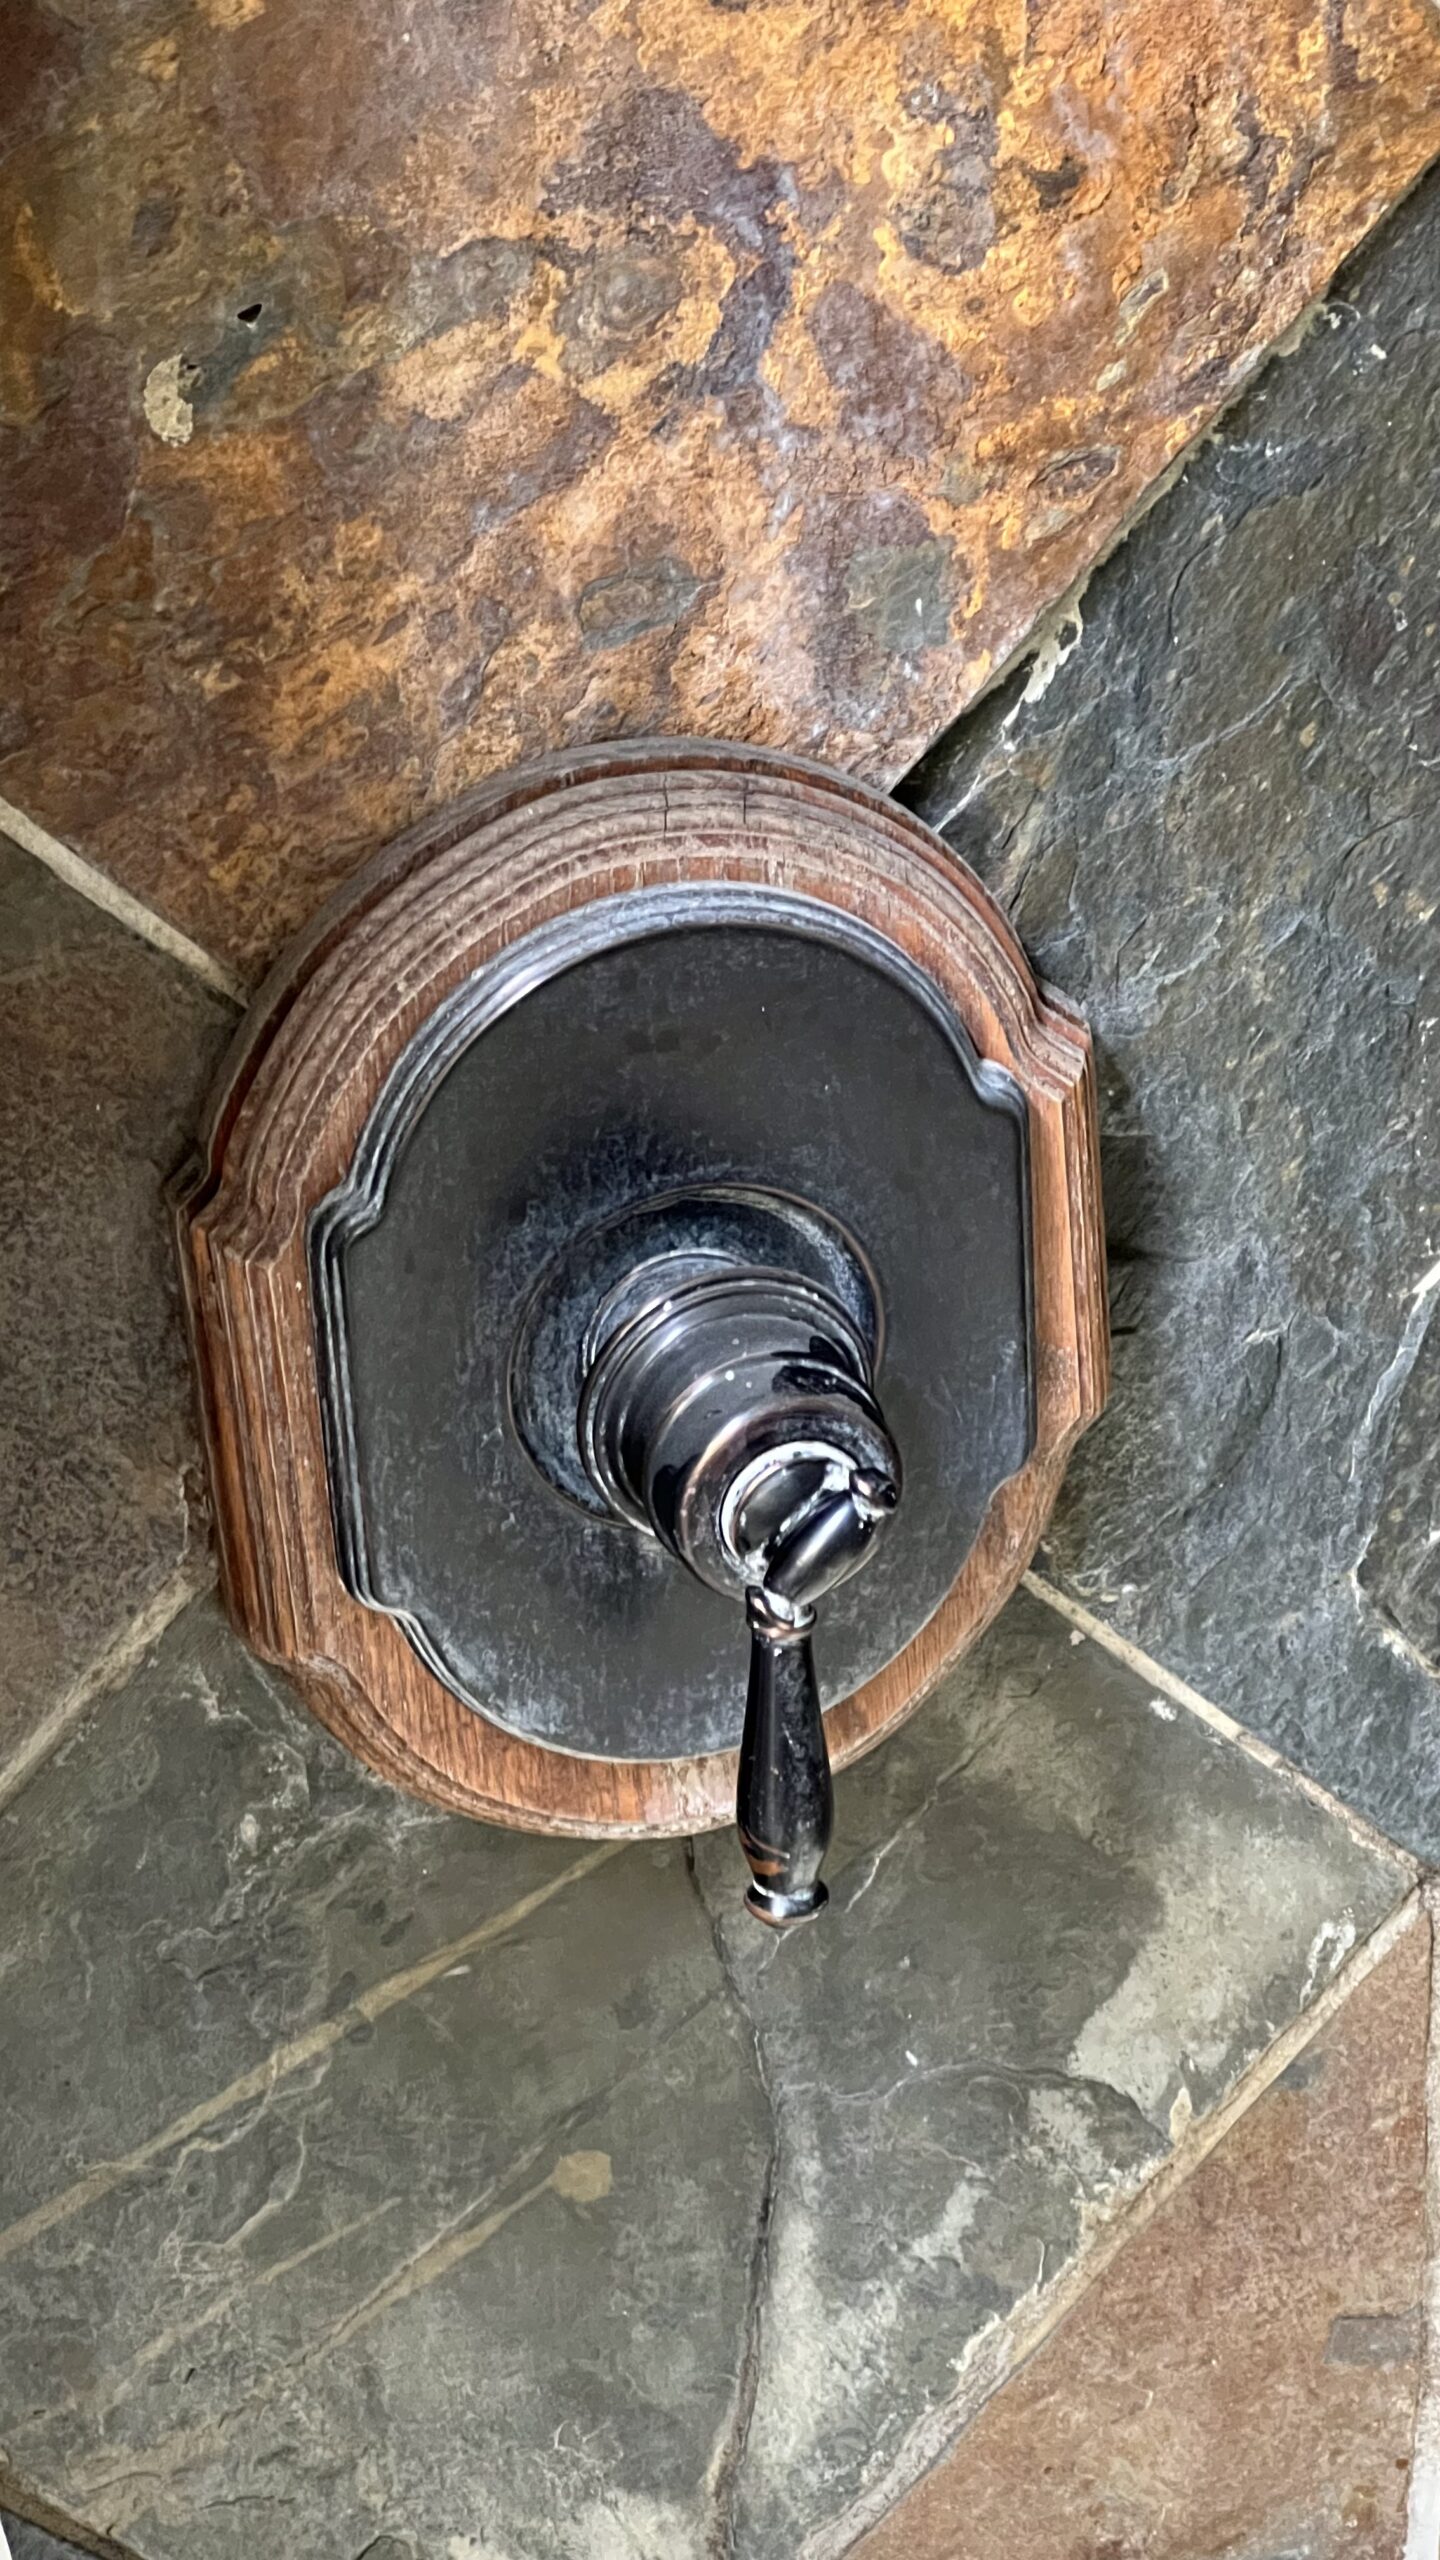
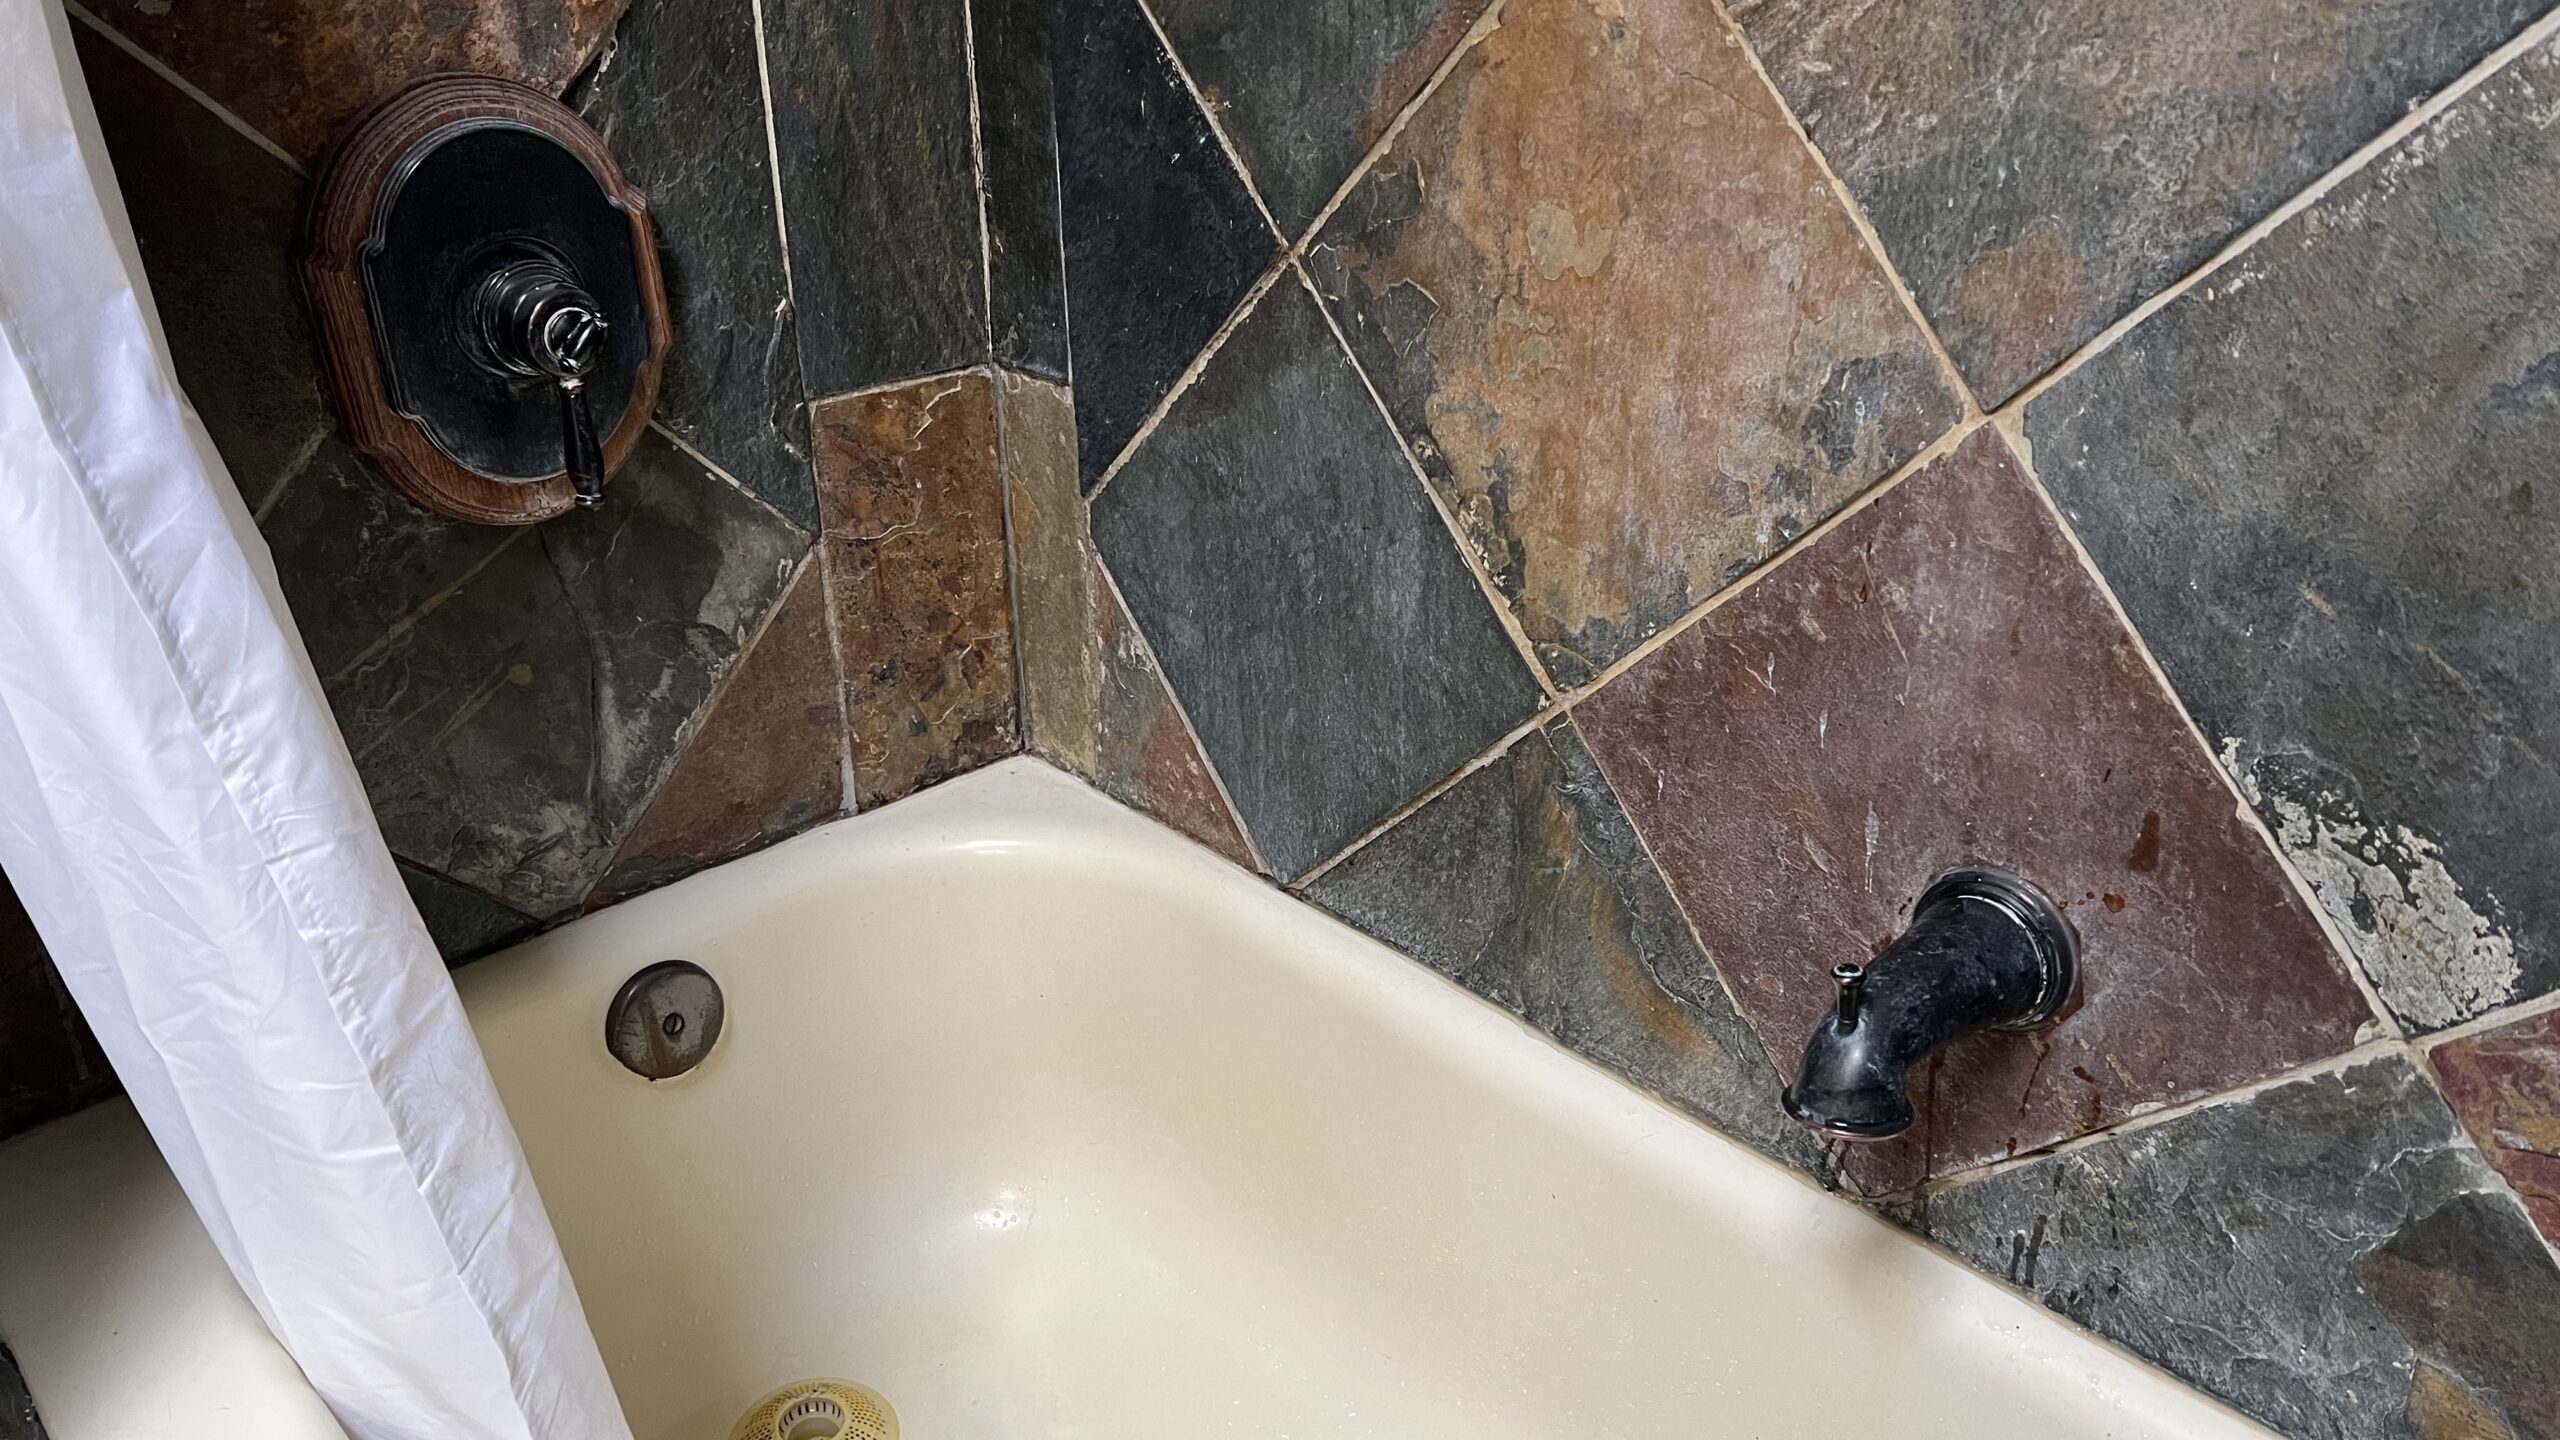
This room was SO dark and had SO much wood. On the tub, in the shower, on the floor…on the toilet. If you’ve ever wondered if wood in the shower or on the tub is a good idea? It isn’t. Especially combined with leaky shower doors. And have you ever seen a tub faucet on the long wall of a tub before? I haven’t. Good idea? Also, no.
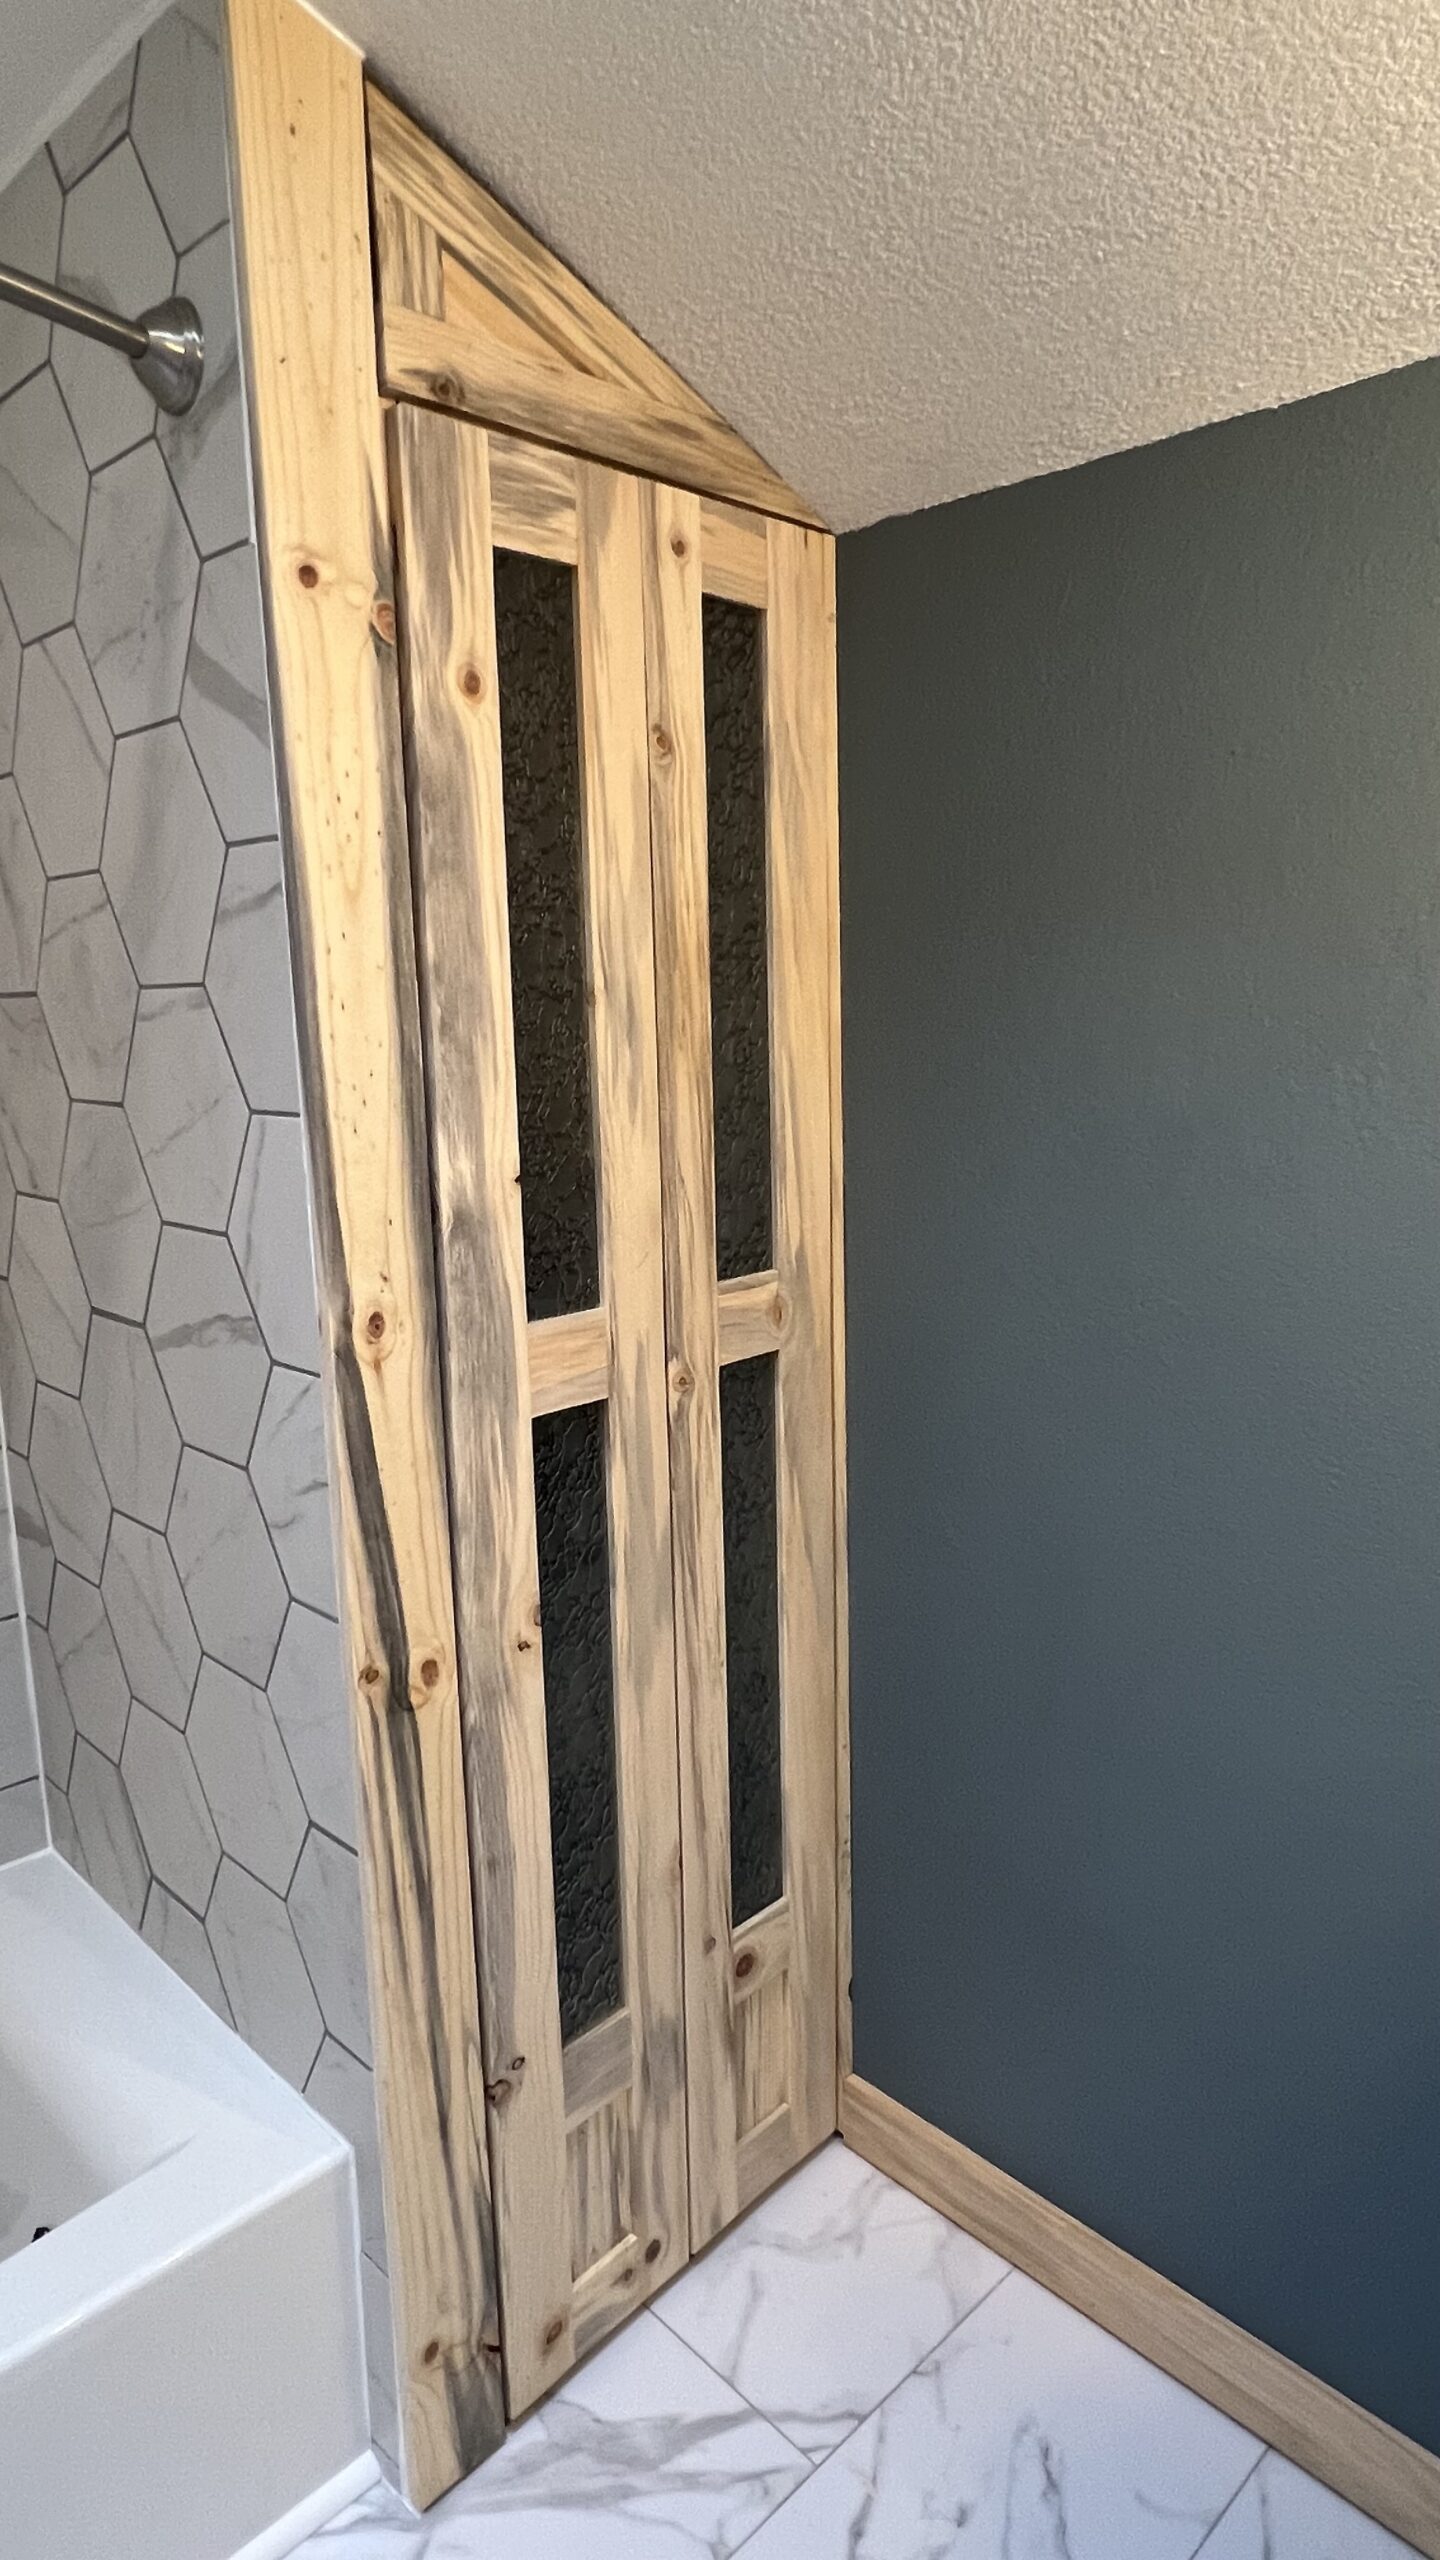
I really wanted to change the layout of this bathroom to get rid of the toilet visibility right at the door, but ultimately decided this was the most functional layout for the space and to keep the very deep linen closet behind the tub.
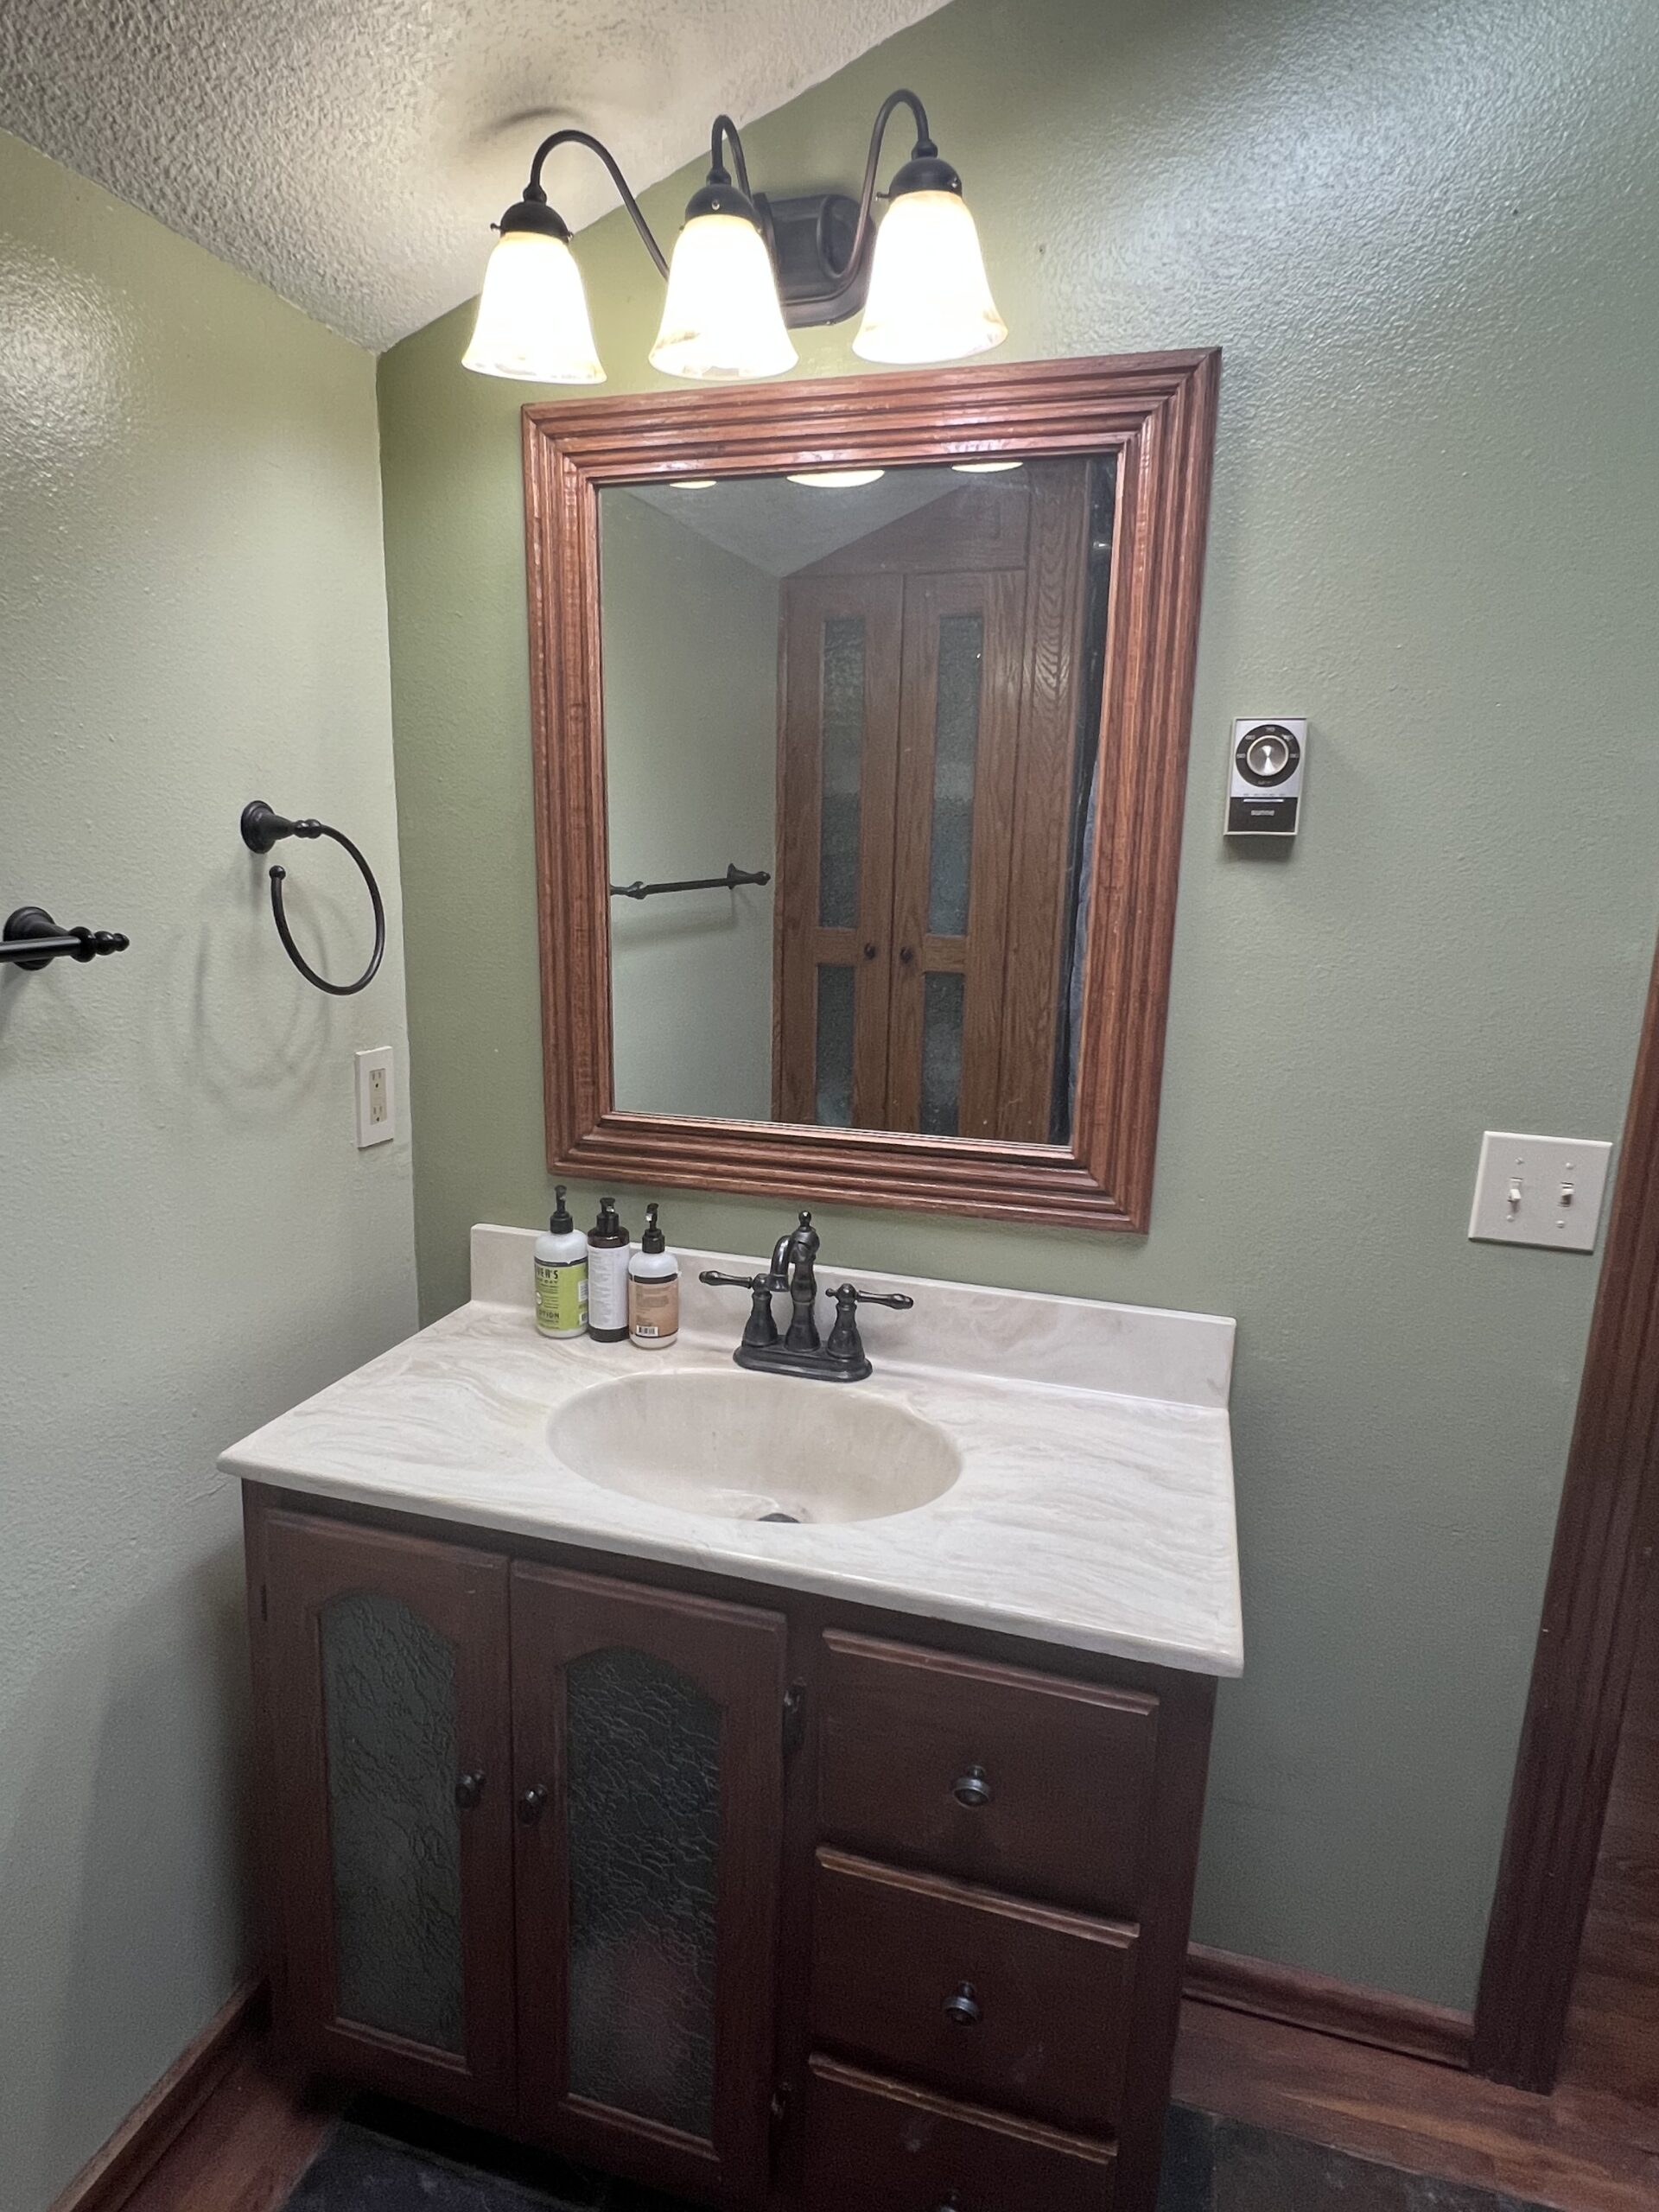
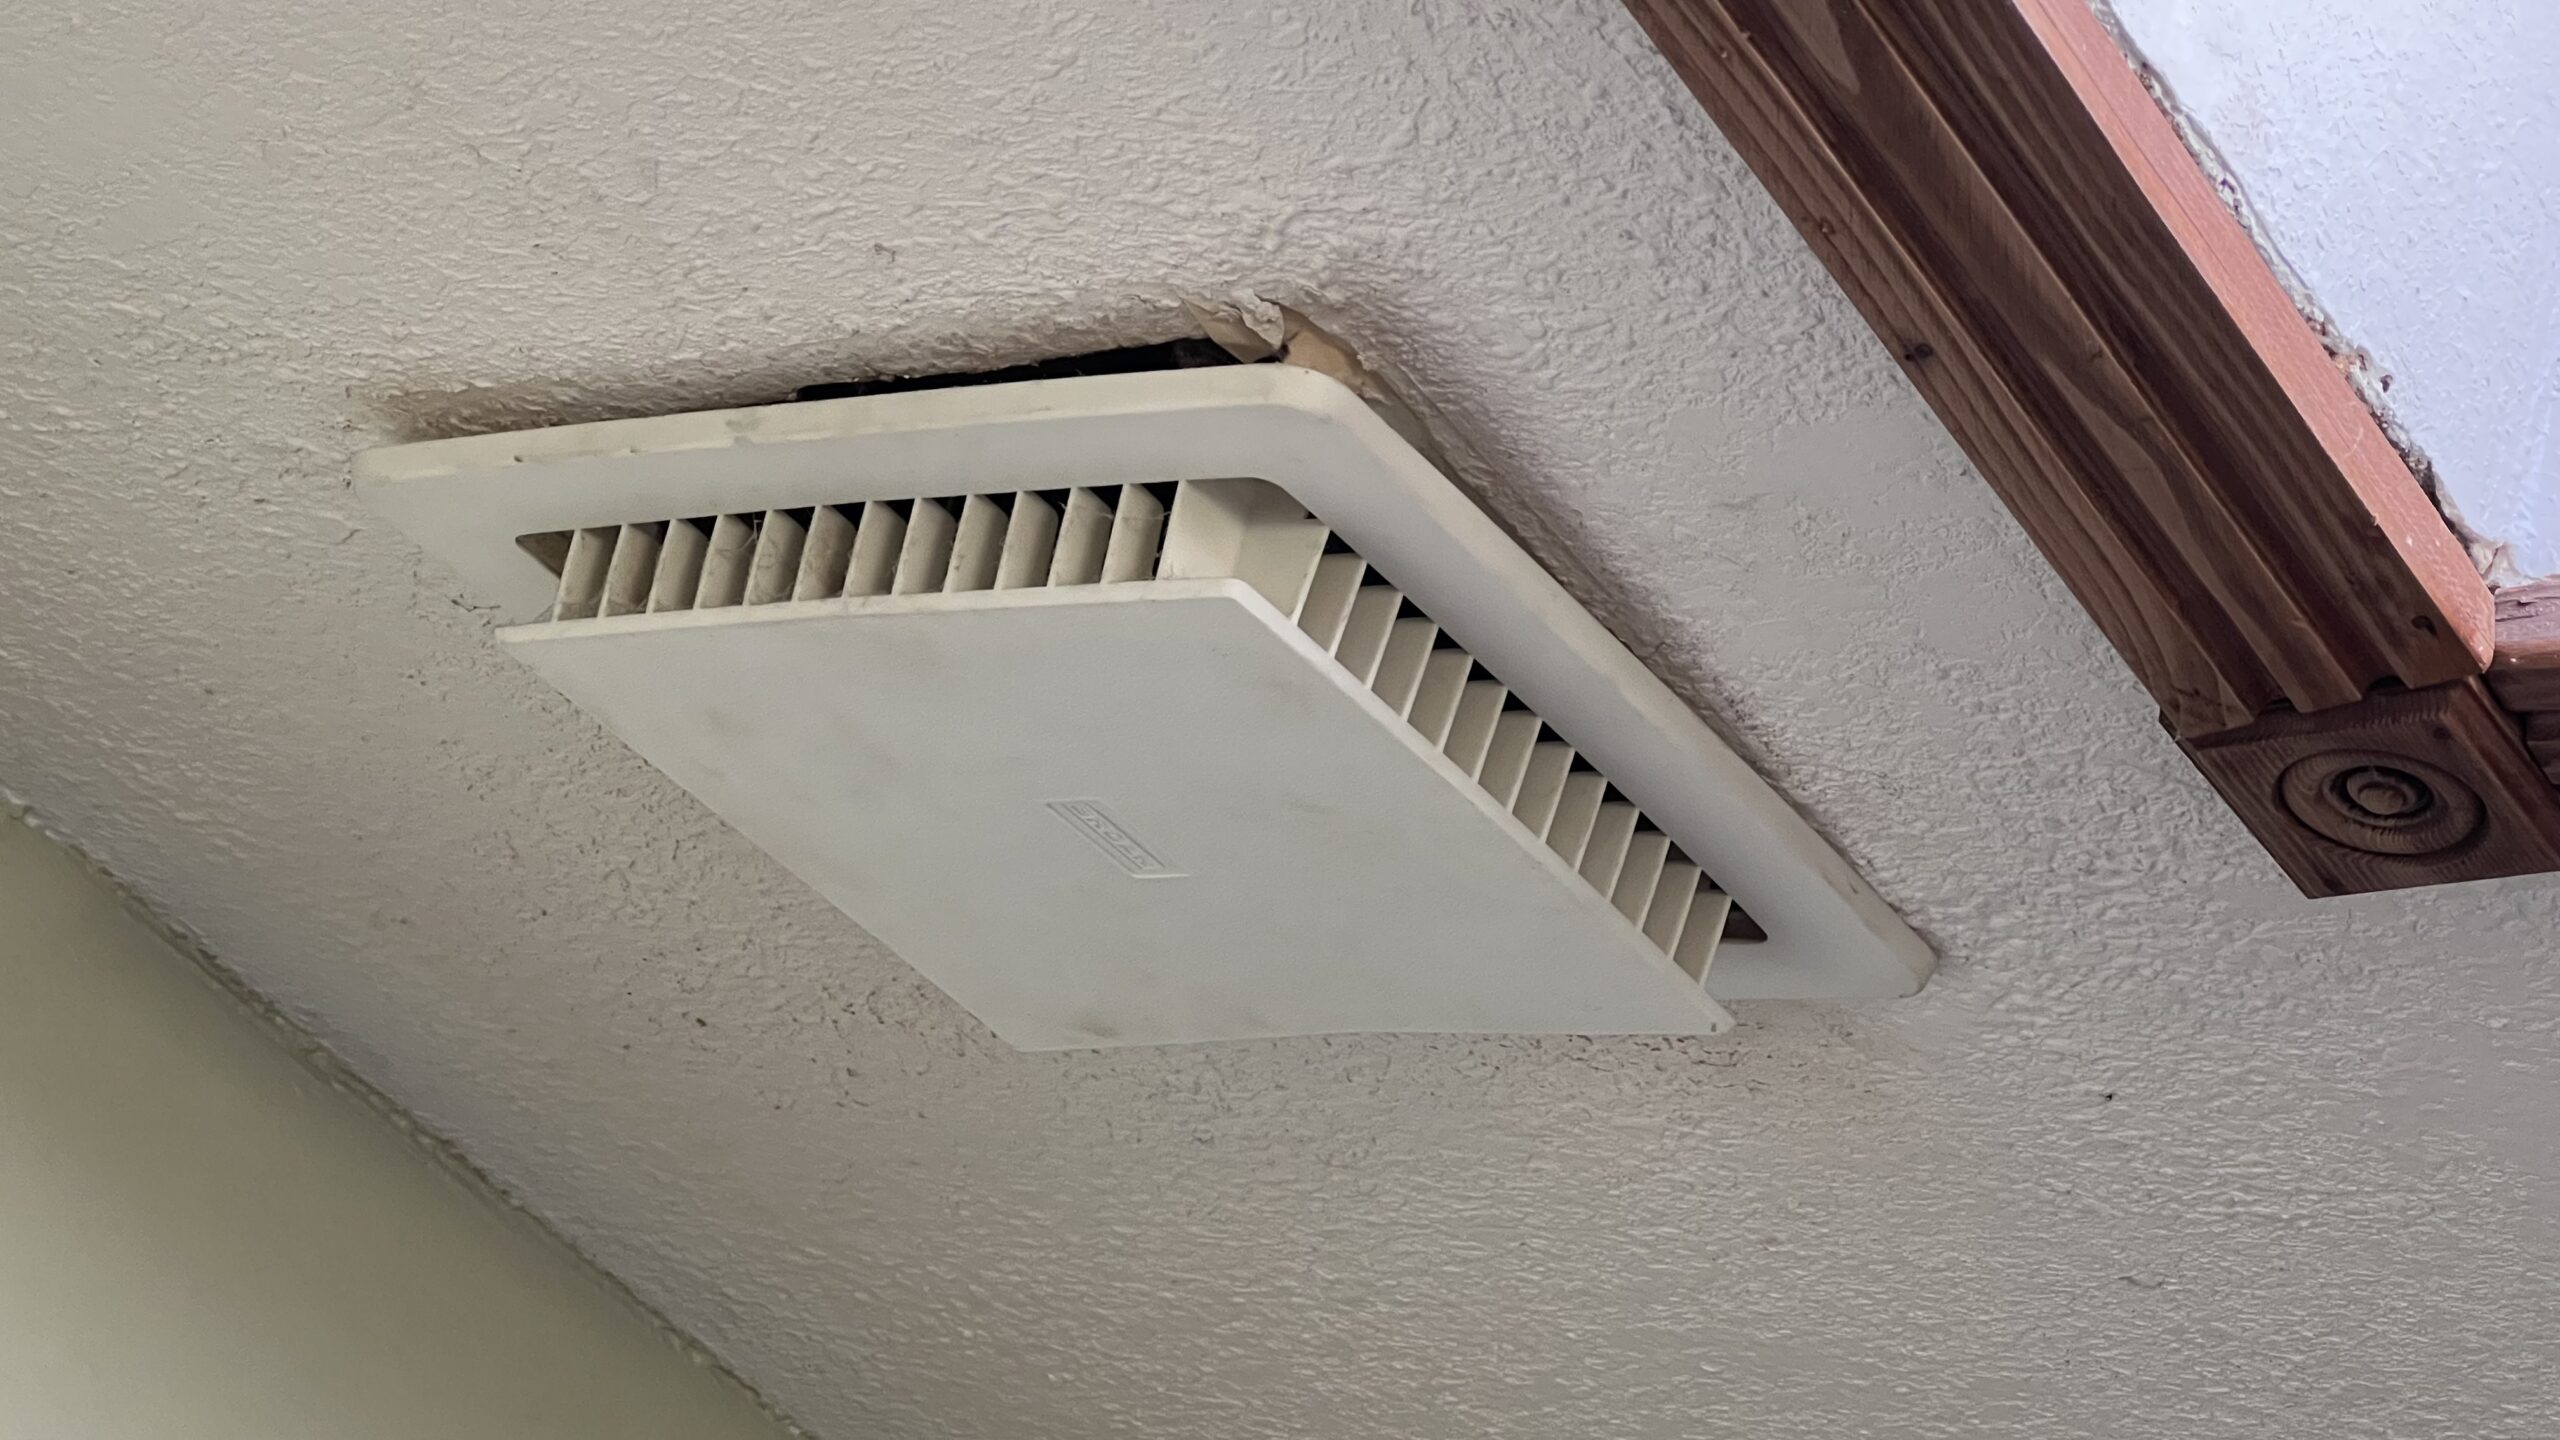
There were so many things that bothered me about this bathroom I couldn’t wait to demo it. The rough uneven slate tile? Not just dark, but gross. The vanity light, mirror and vanity being all off center made me twitchy. The smell of old wood after taking a shower? Also gross. There was also the bathroom vent fan falling off the ceiling, which I would later learn wasn’t actually venting outside, but into the void between the roof and the ceiling! That probably wasn’t helping the old wood smell. Here are a few of the before bathroom highlights ready to be gutted!
The After:
This was a near gut project. I ended up leaving the framing up for the closet. Although, it would have made my life easier when installing the new tub if I had just ripped it all out. Another lesson in trying to save some labor but caused more work and time. Lesson learned! Haha, probably not.
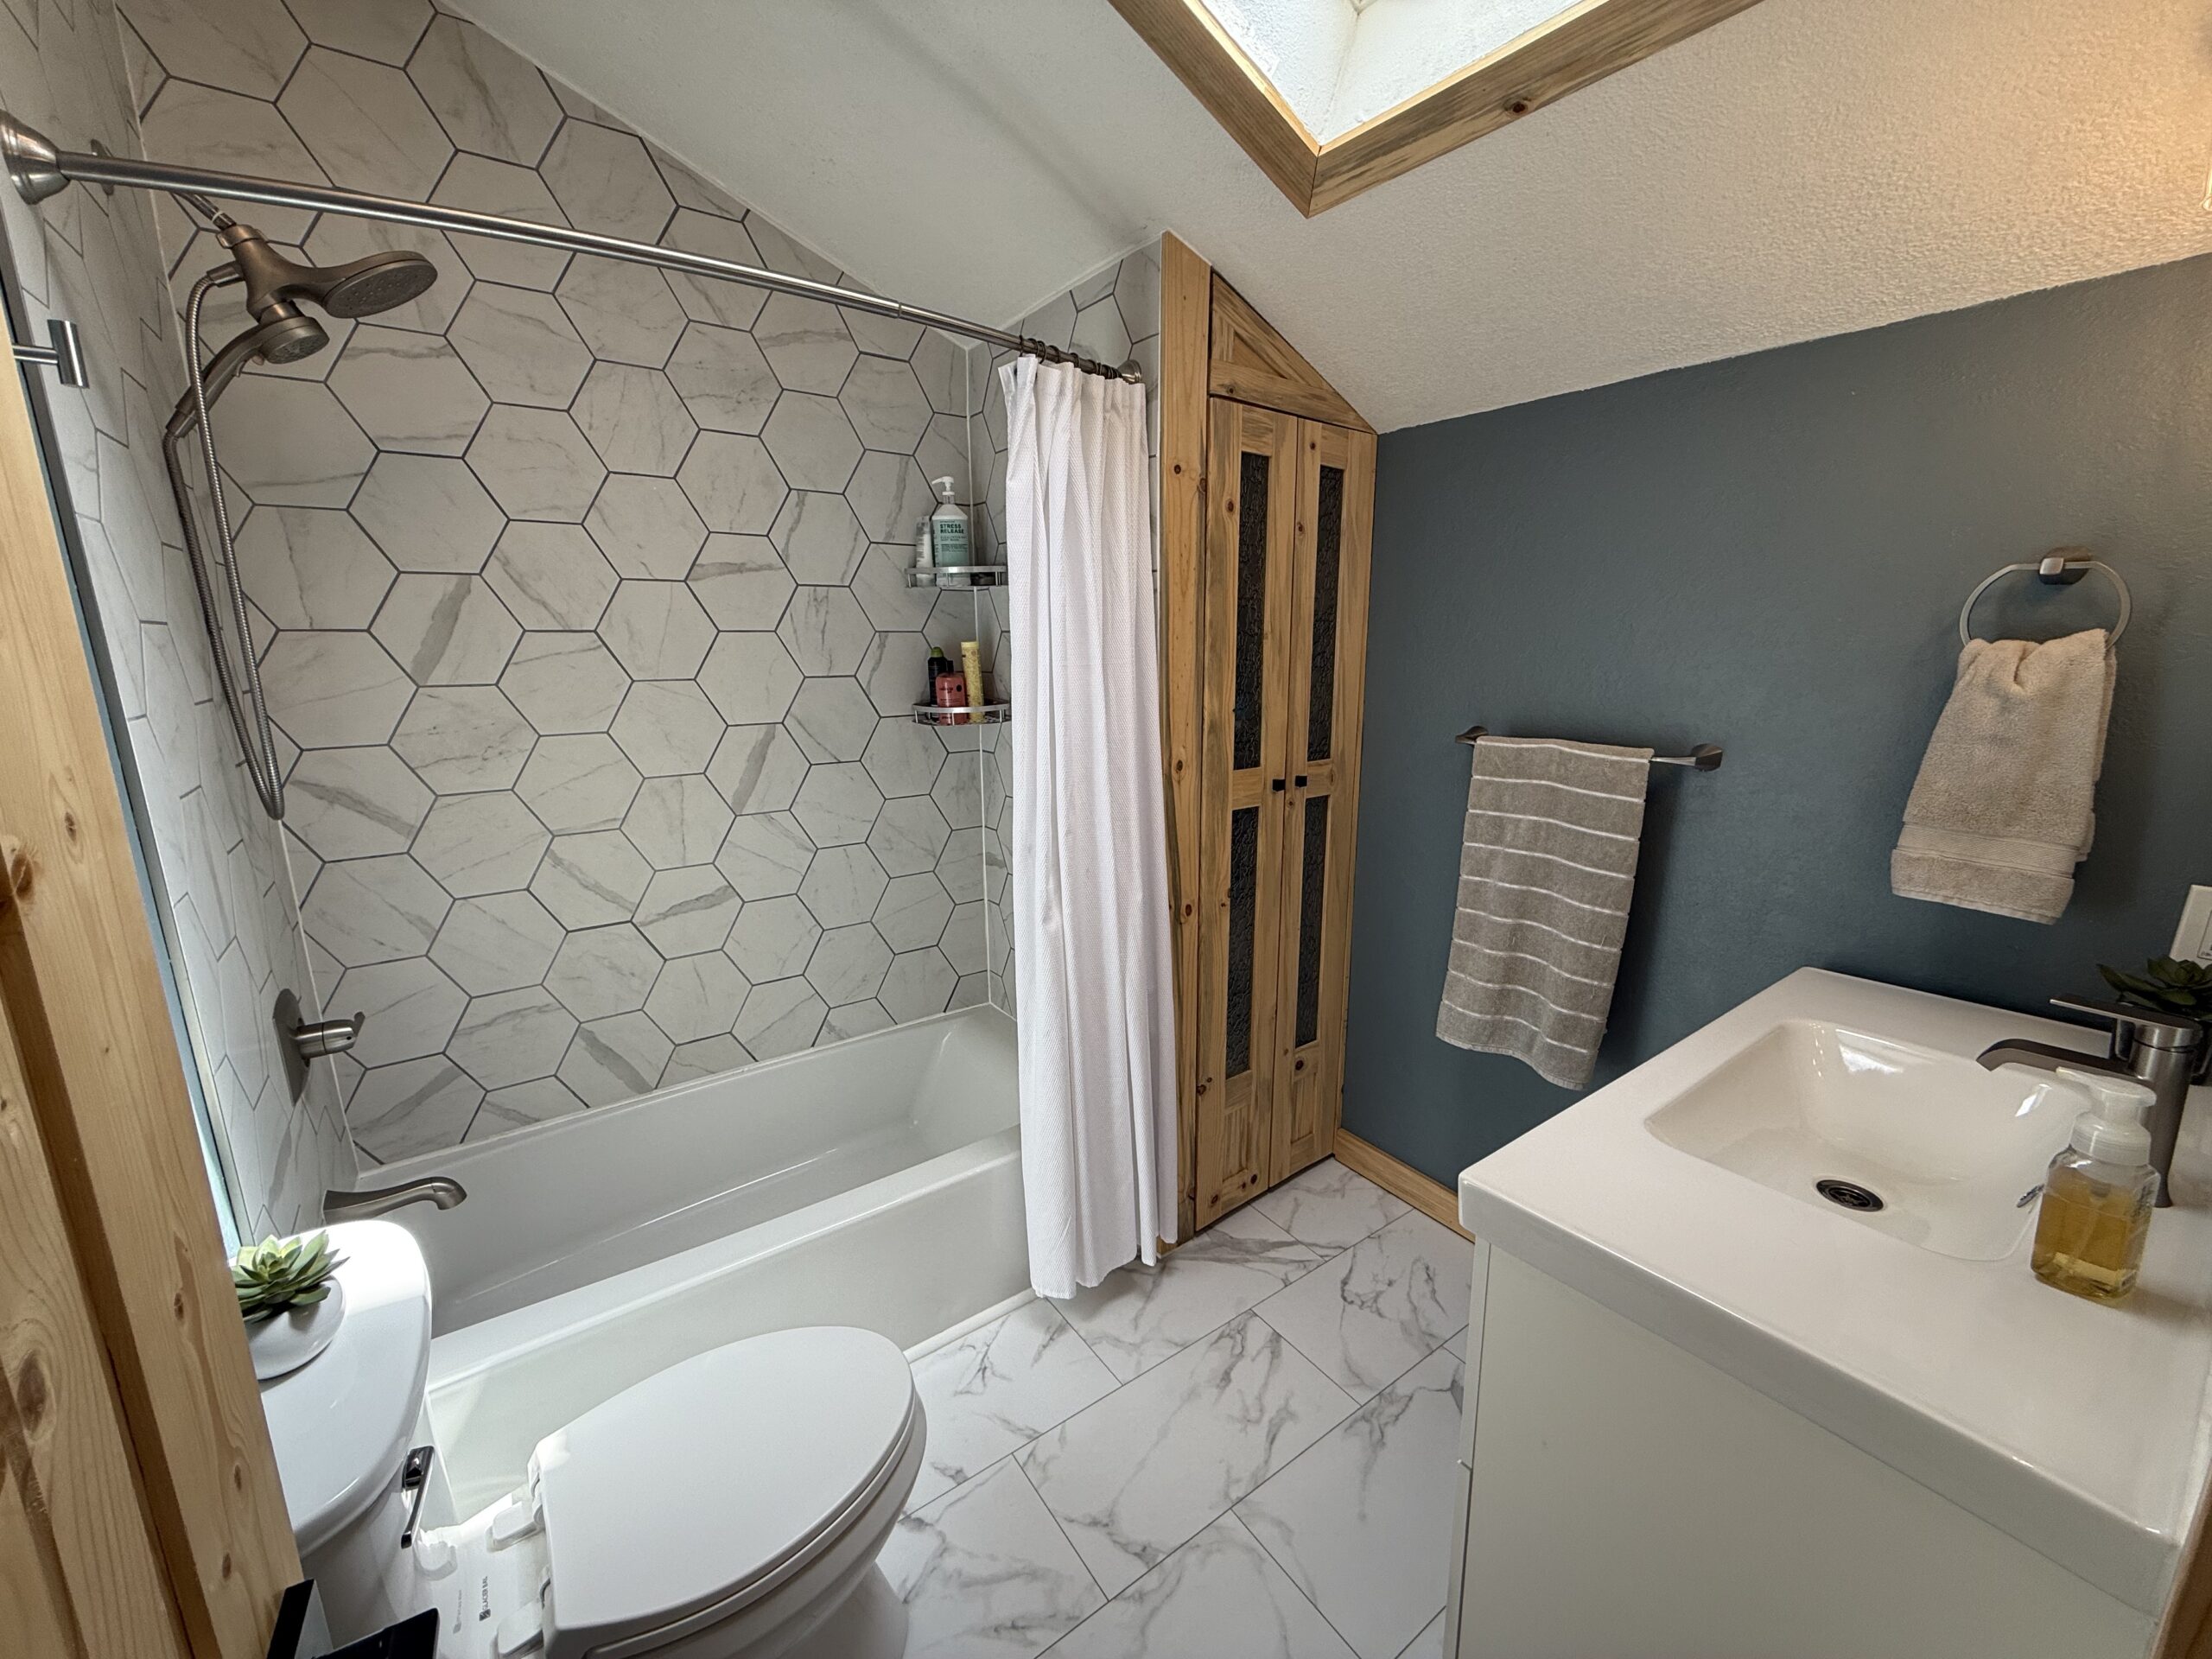
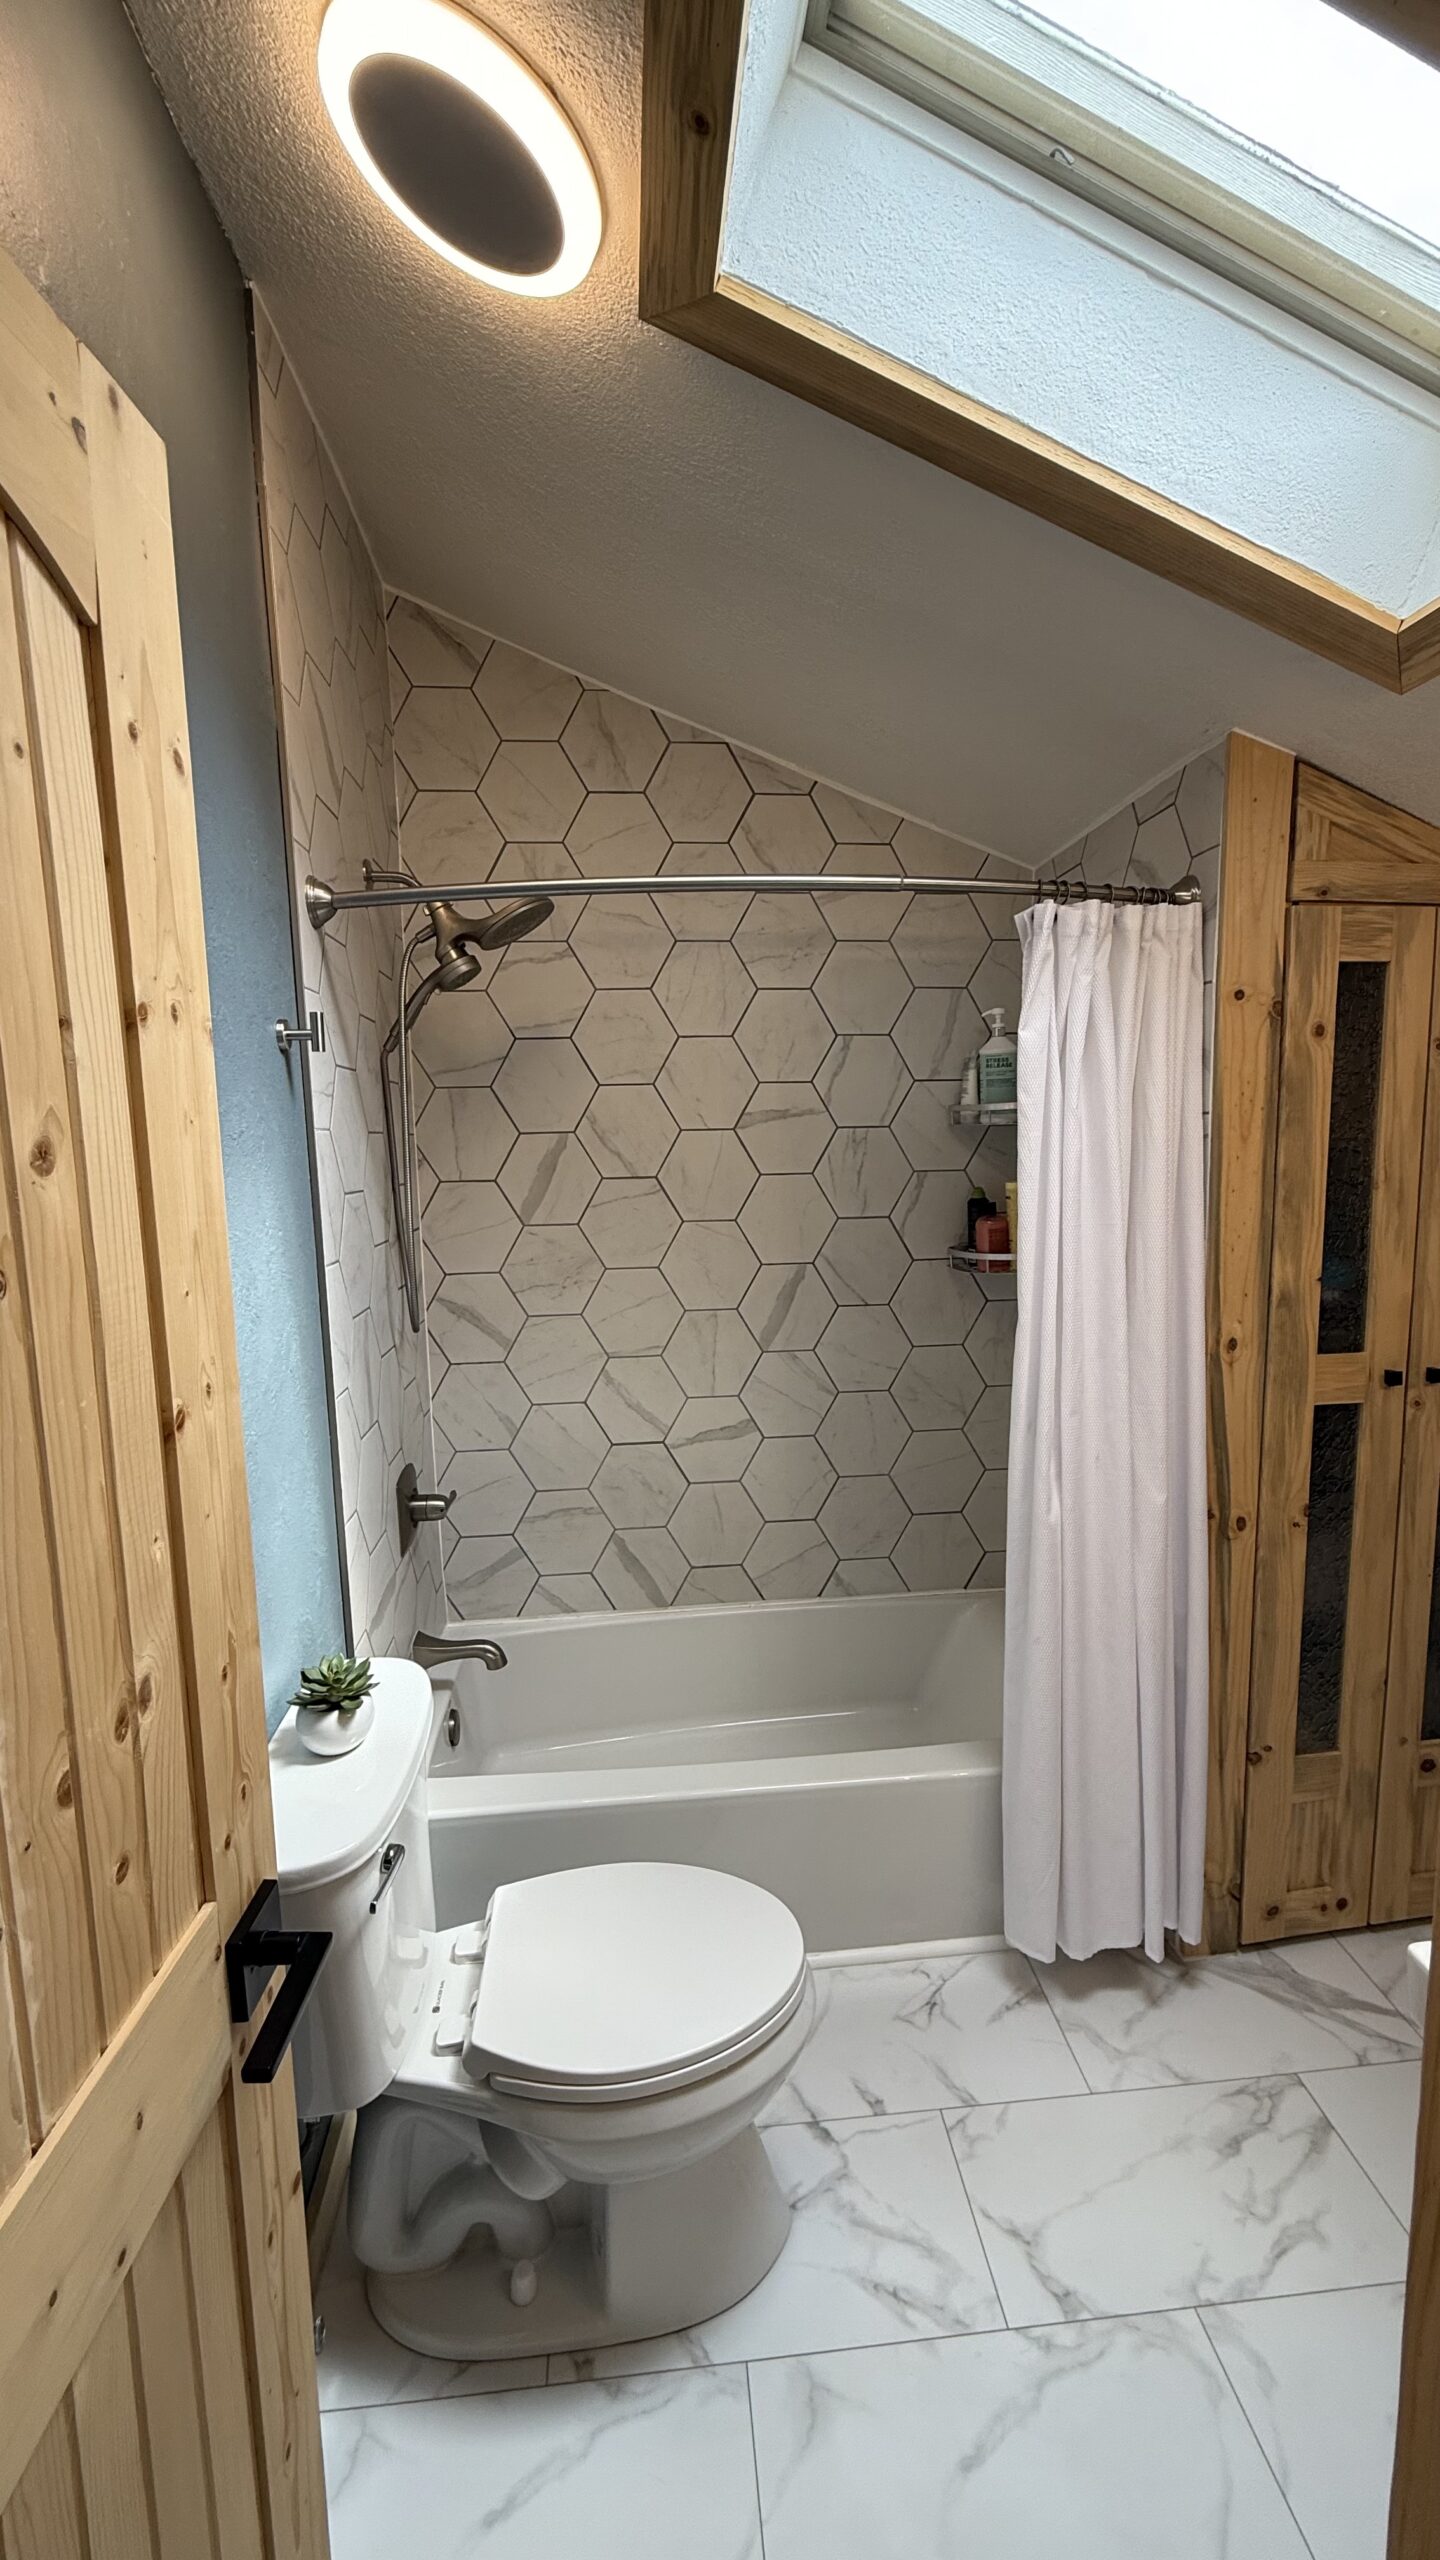
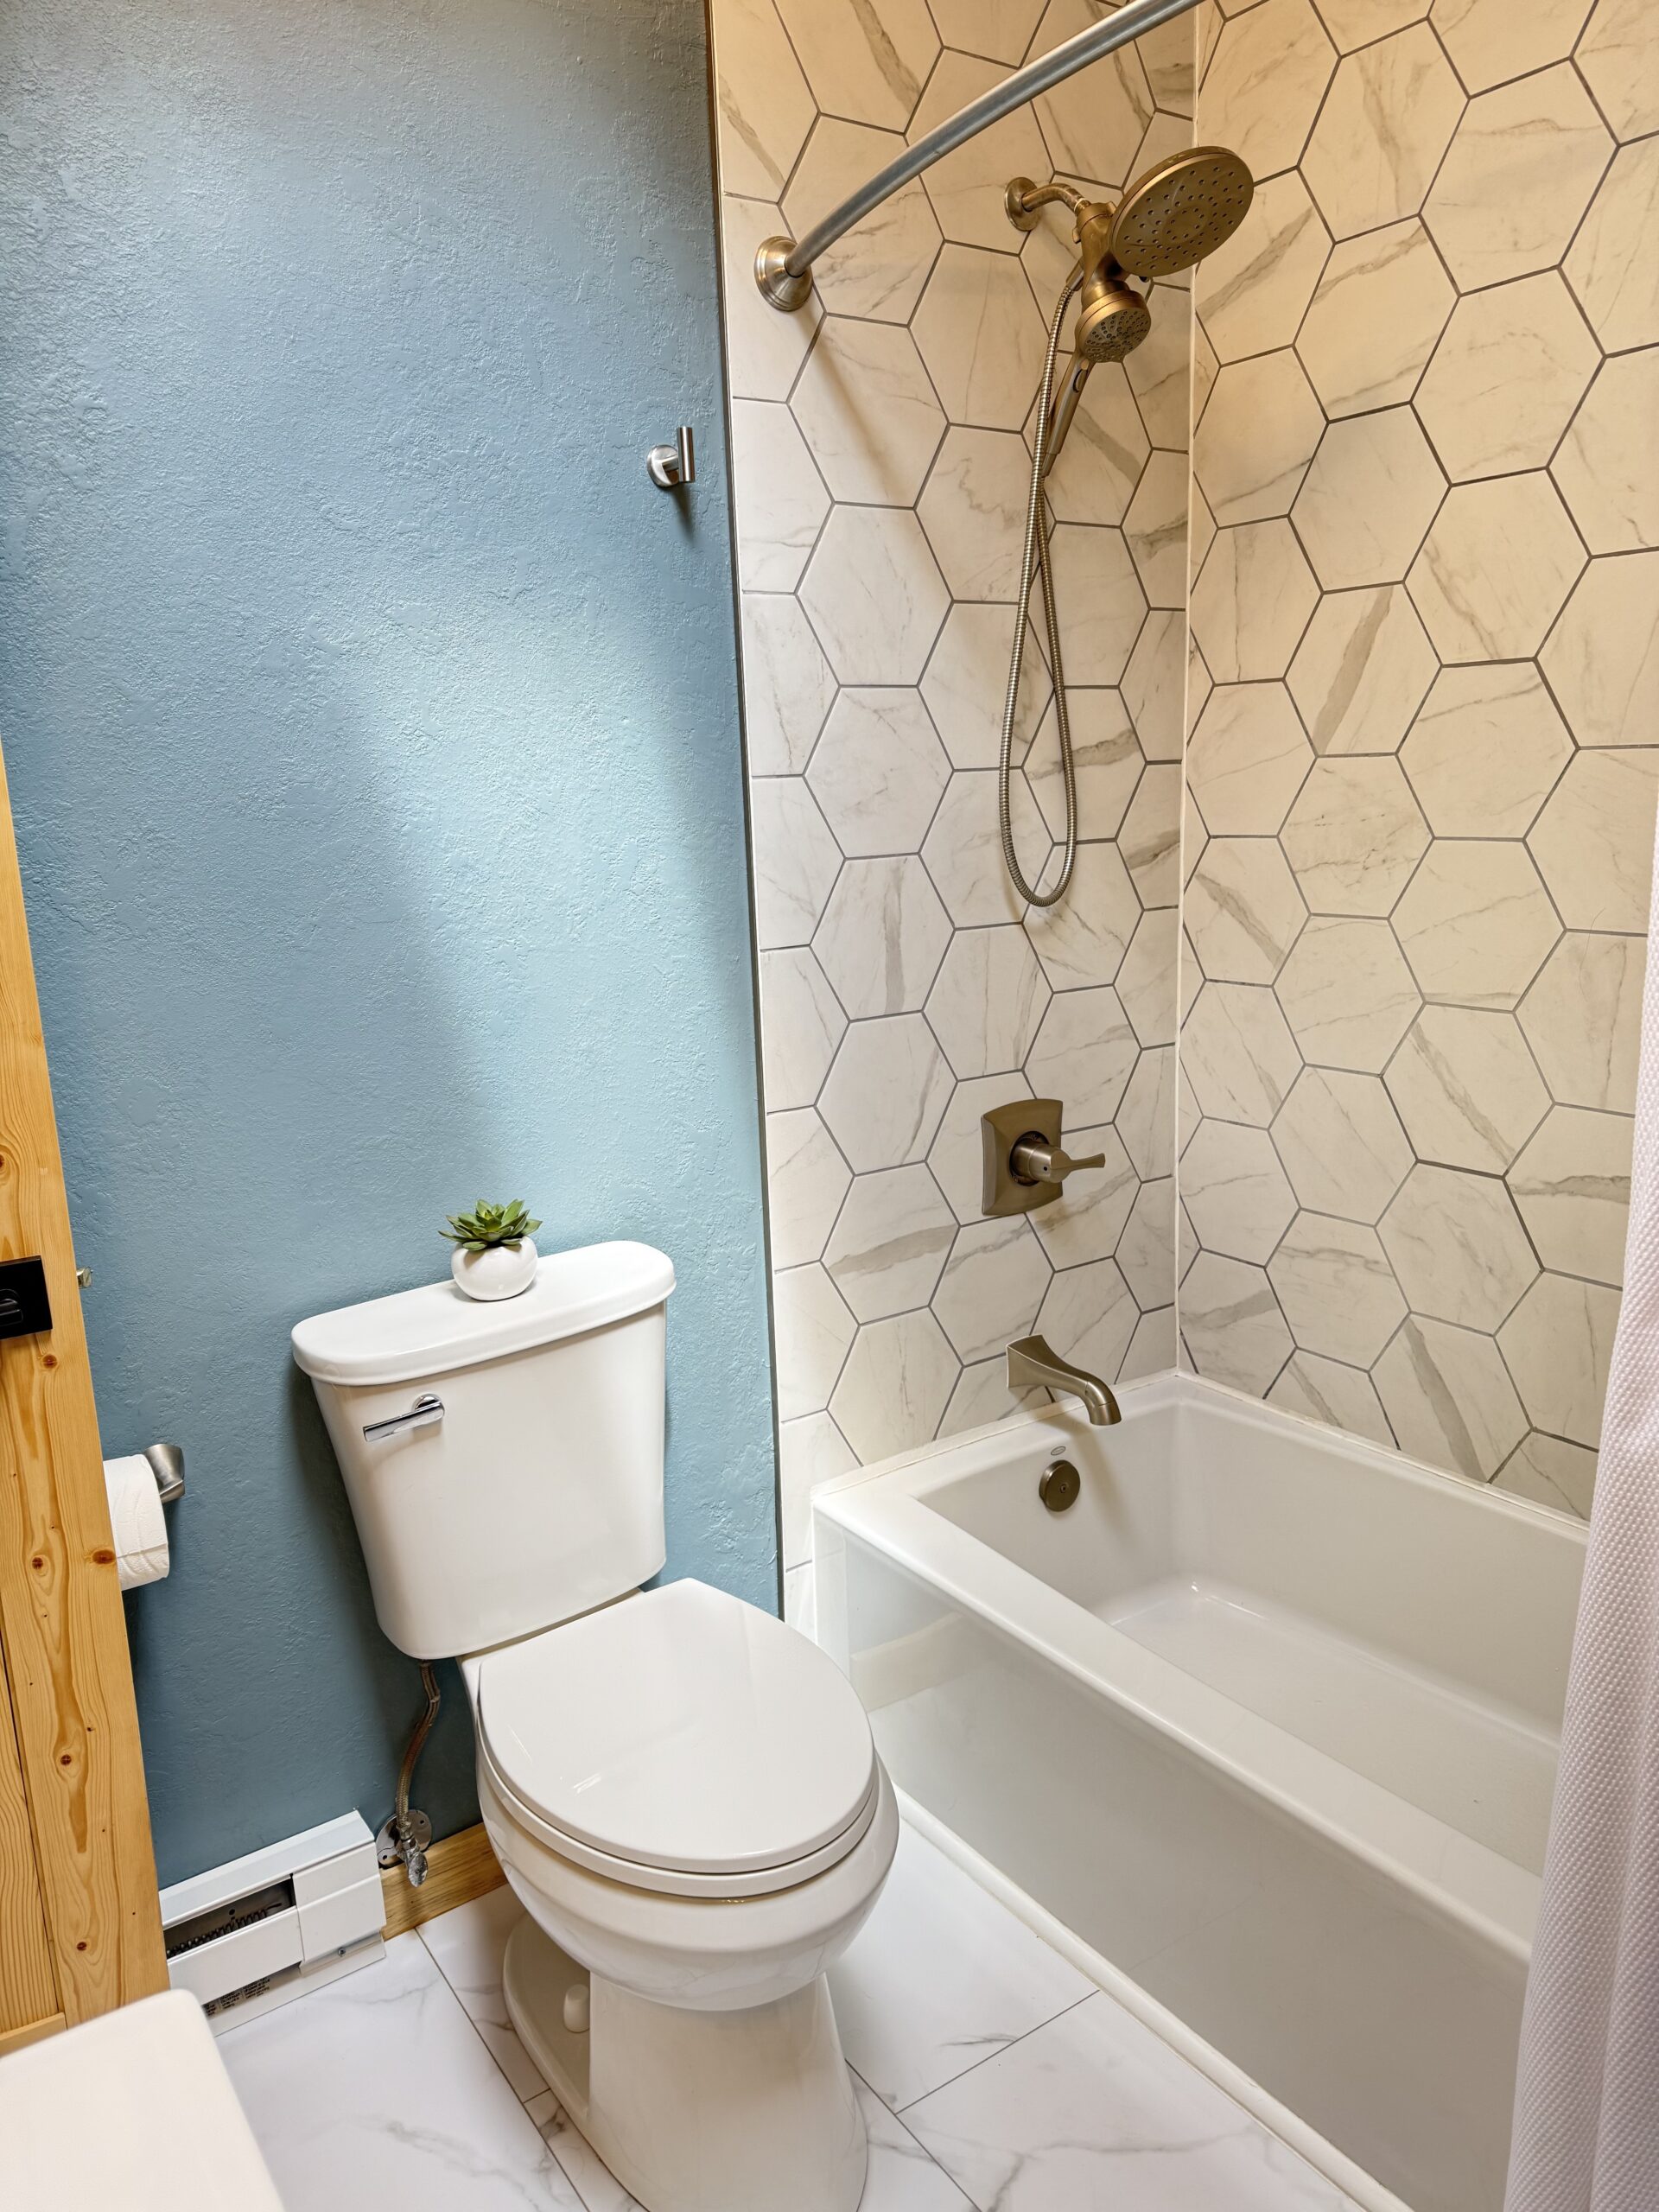
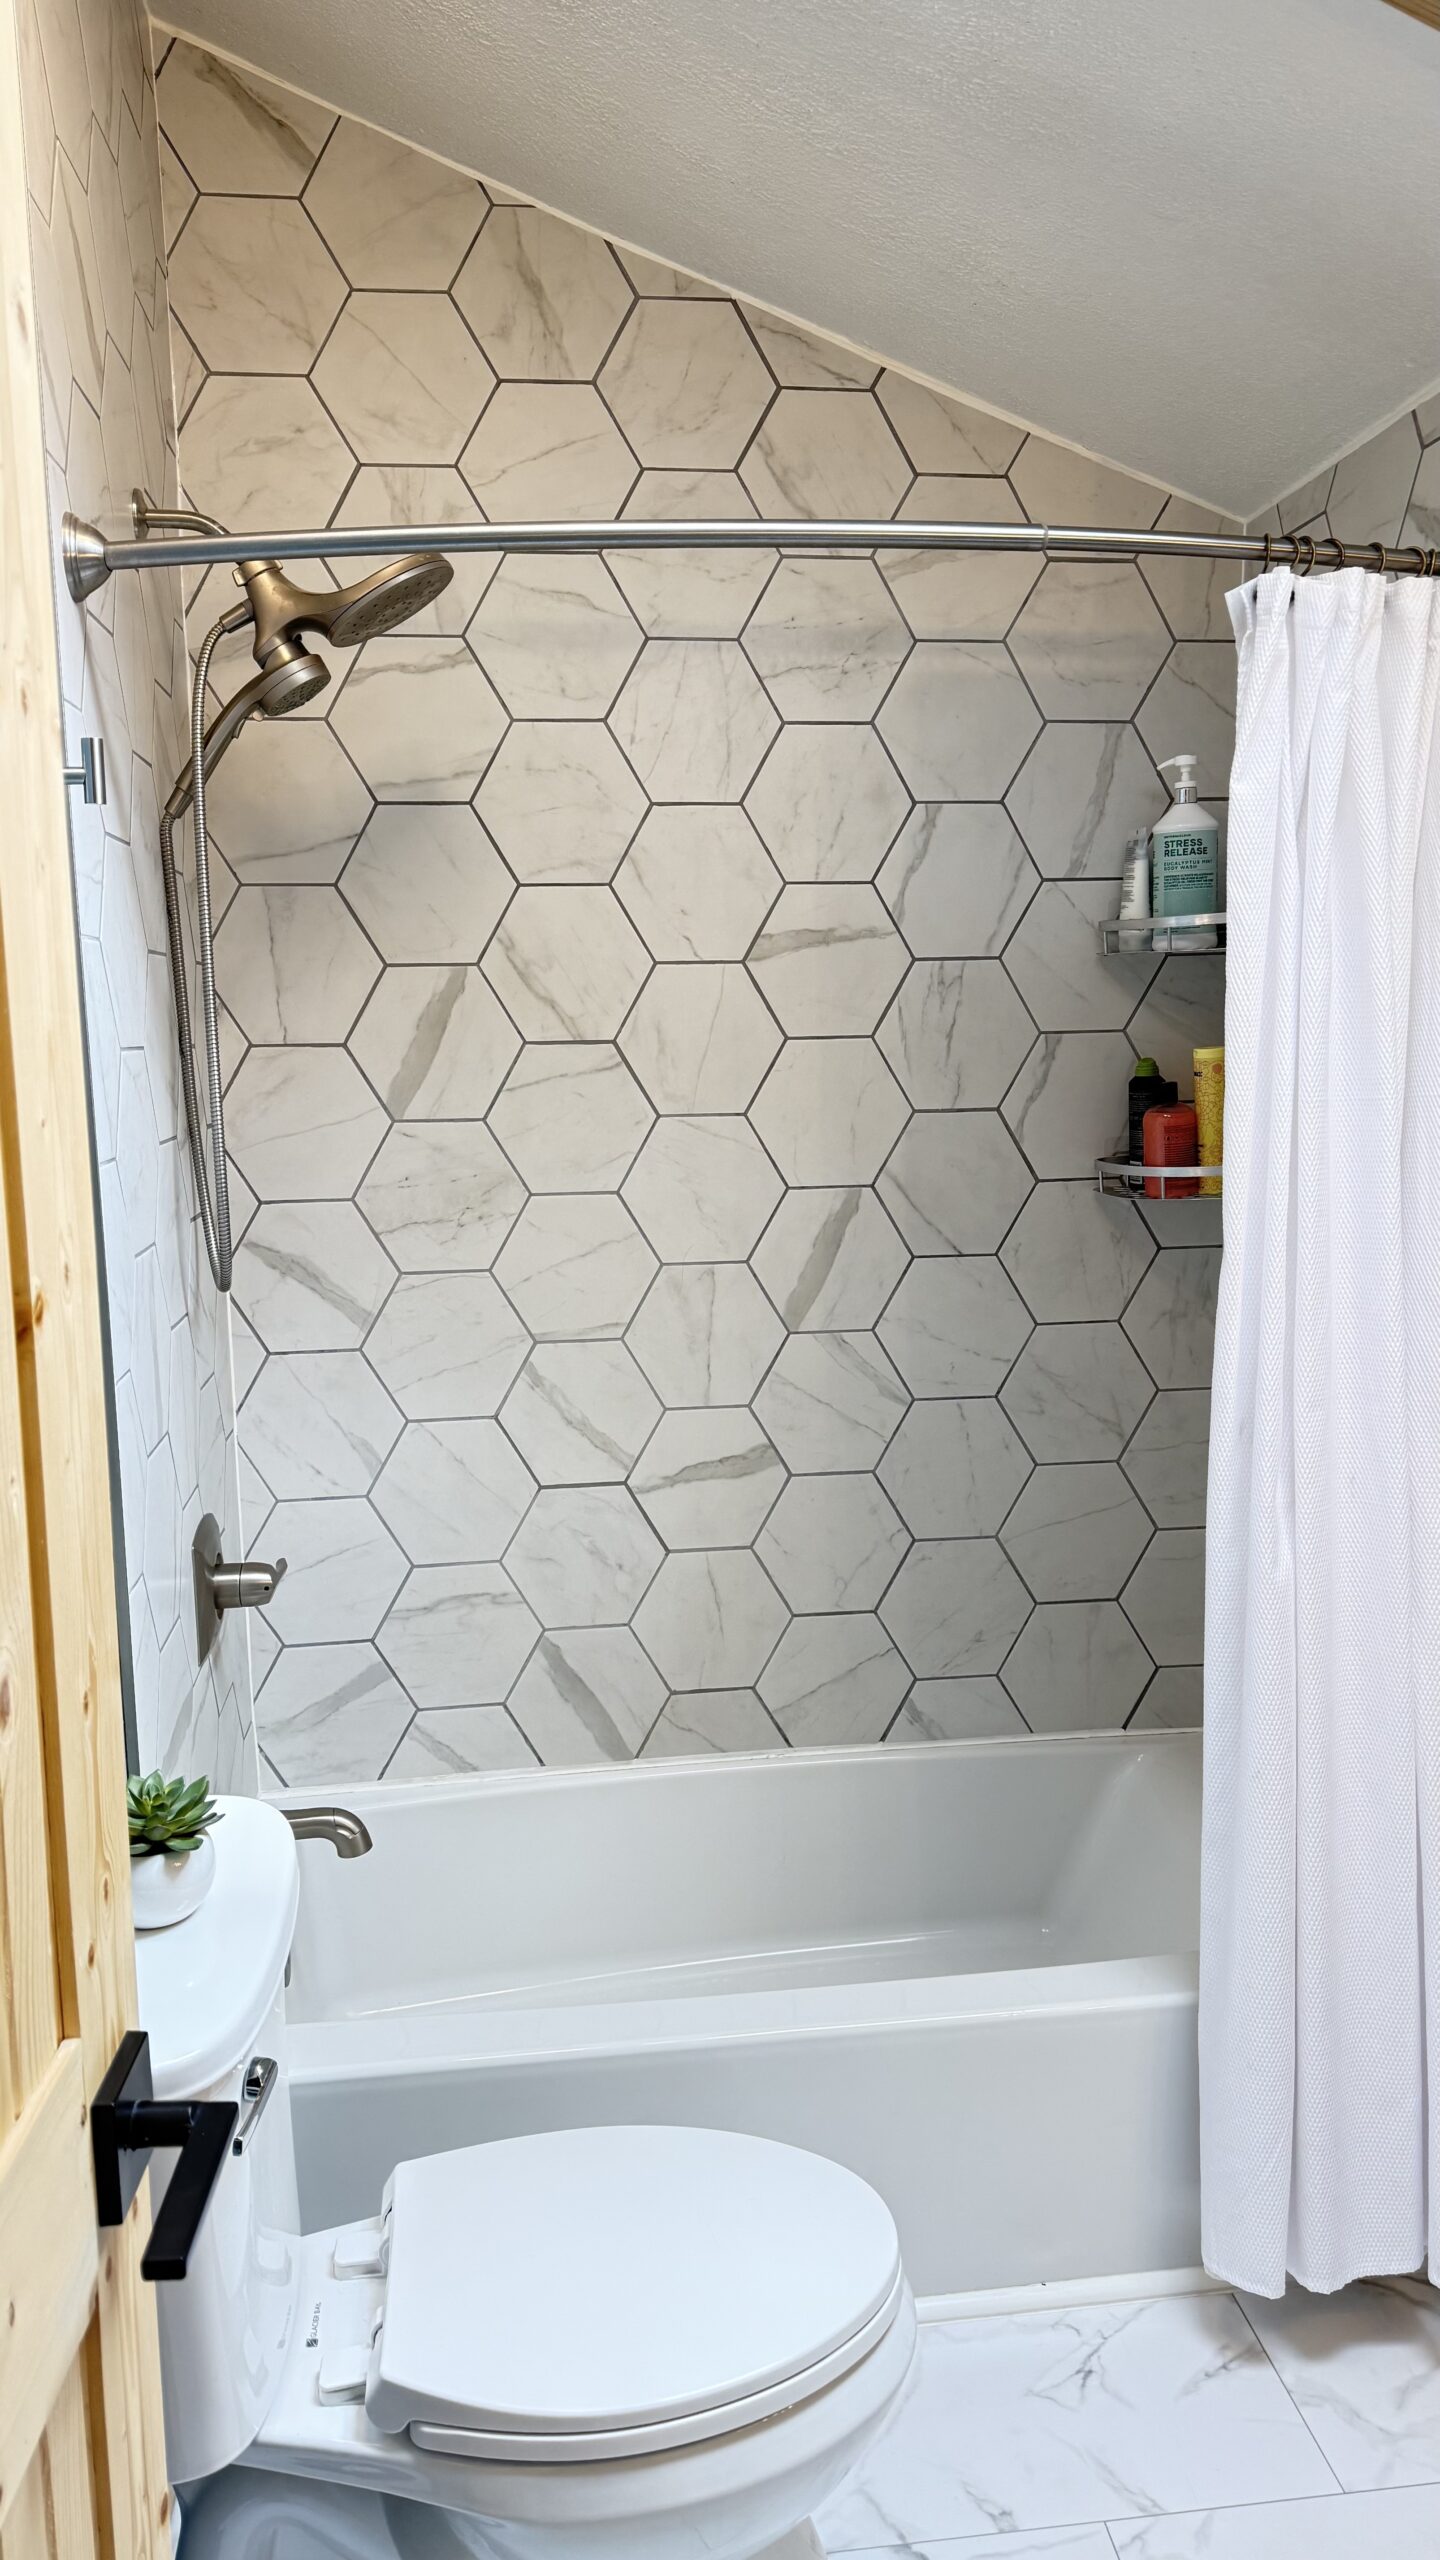
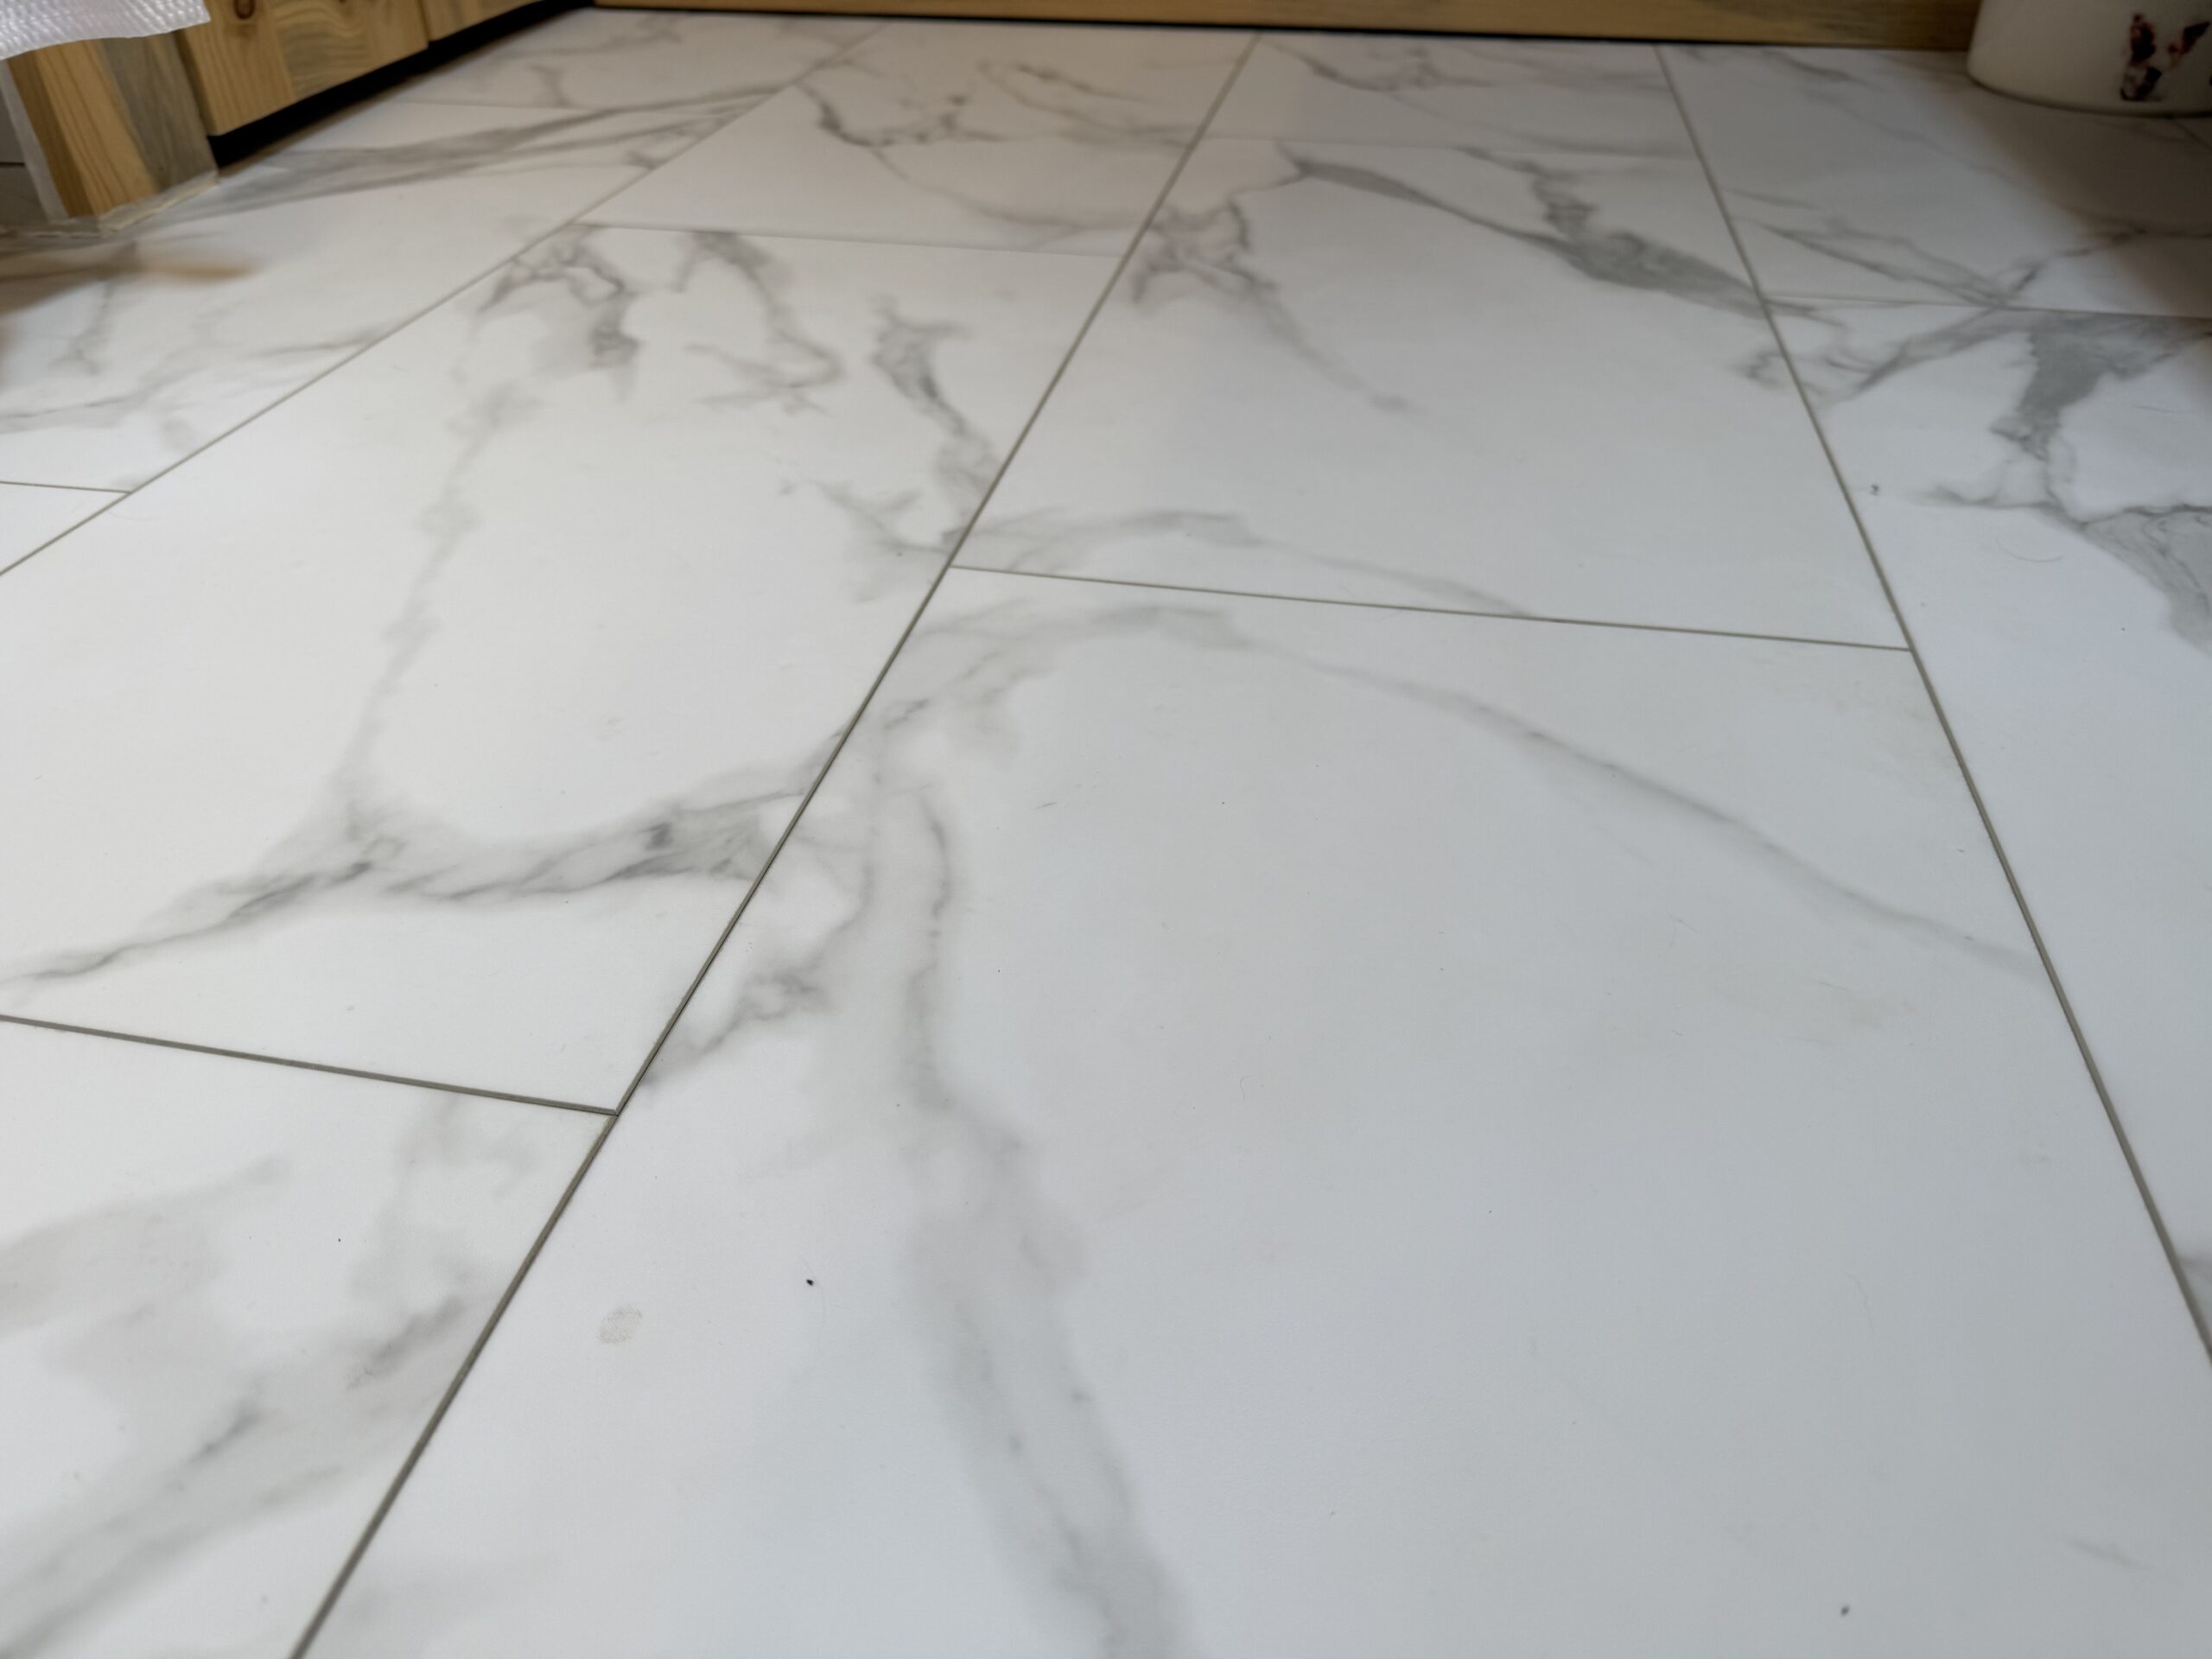
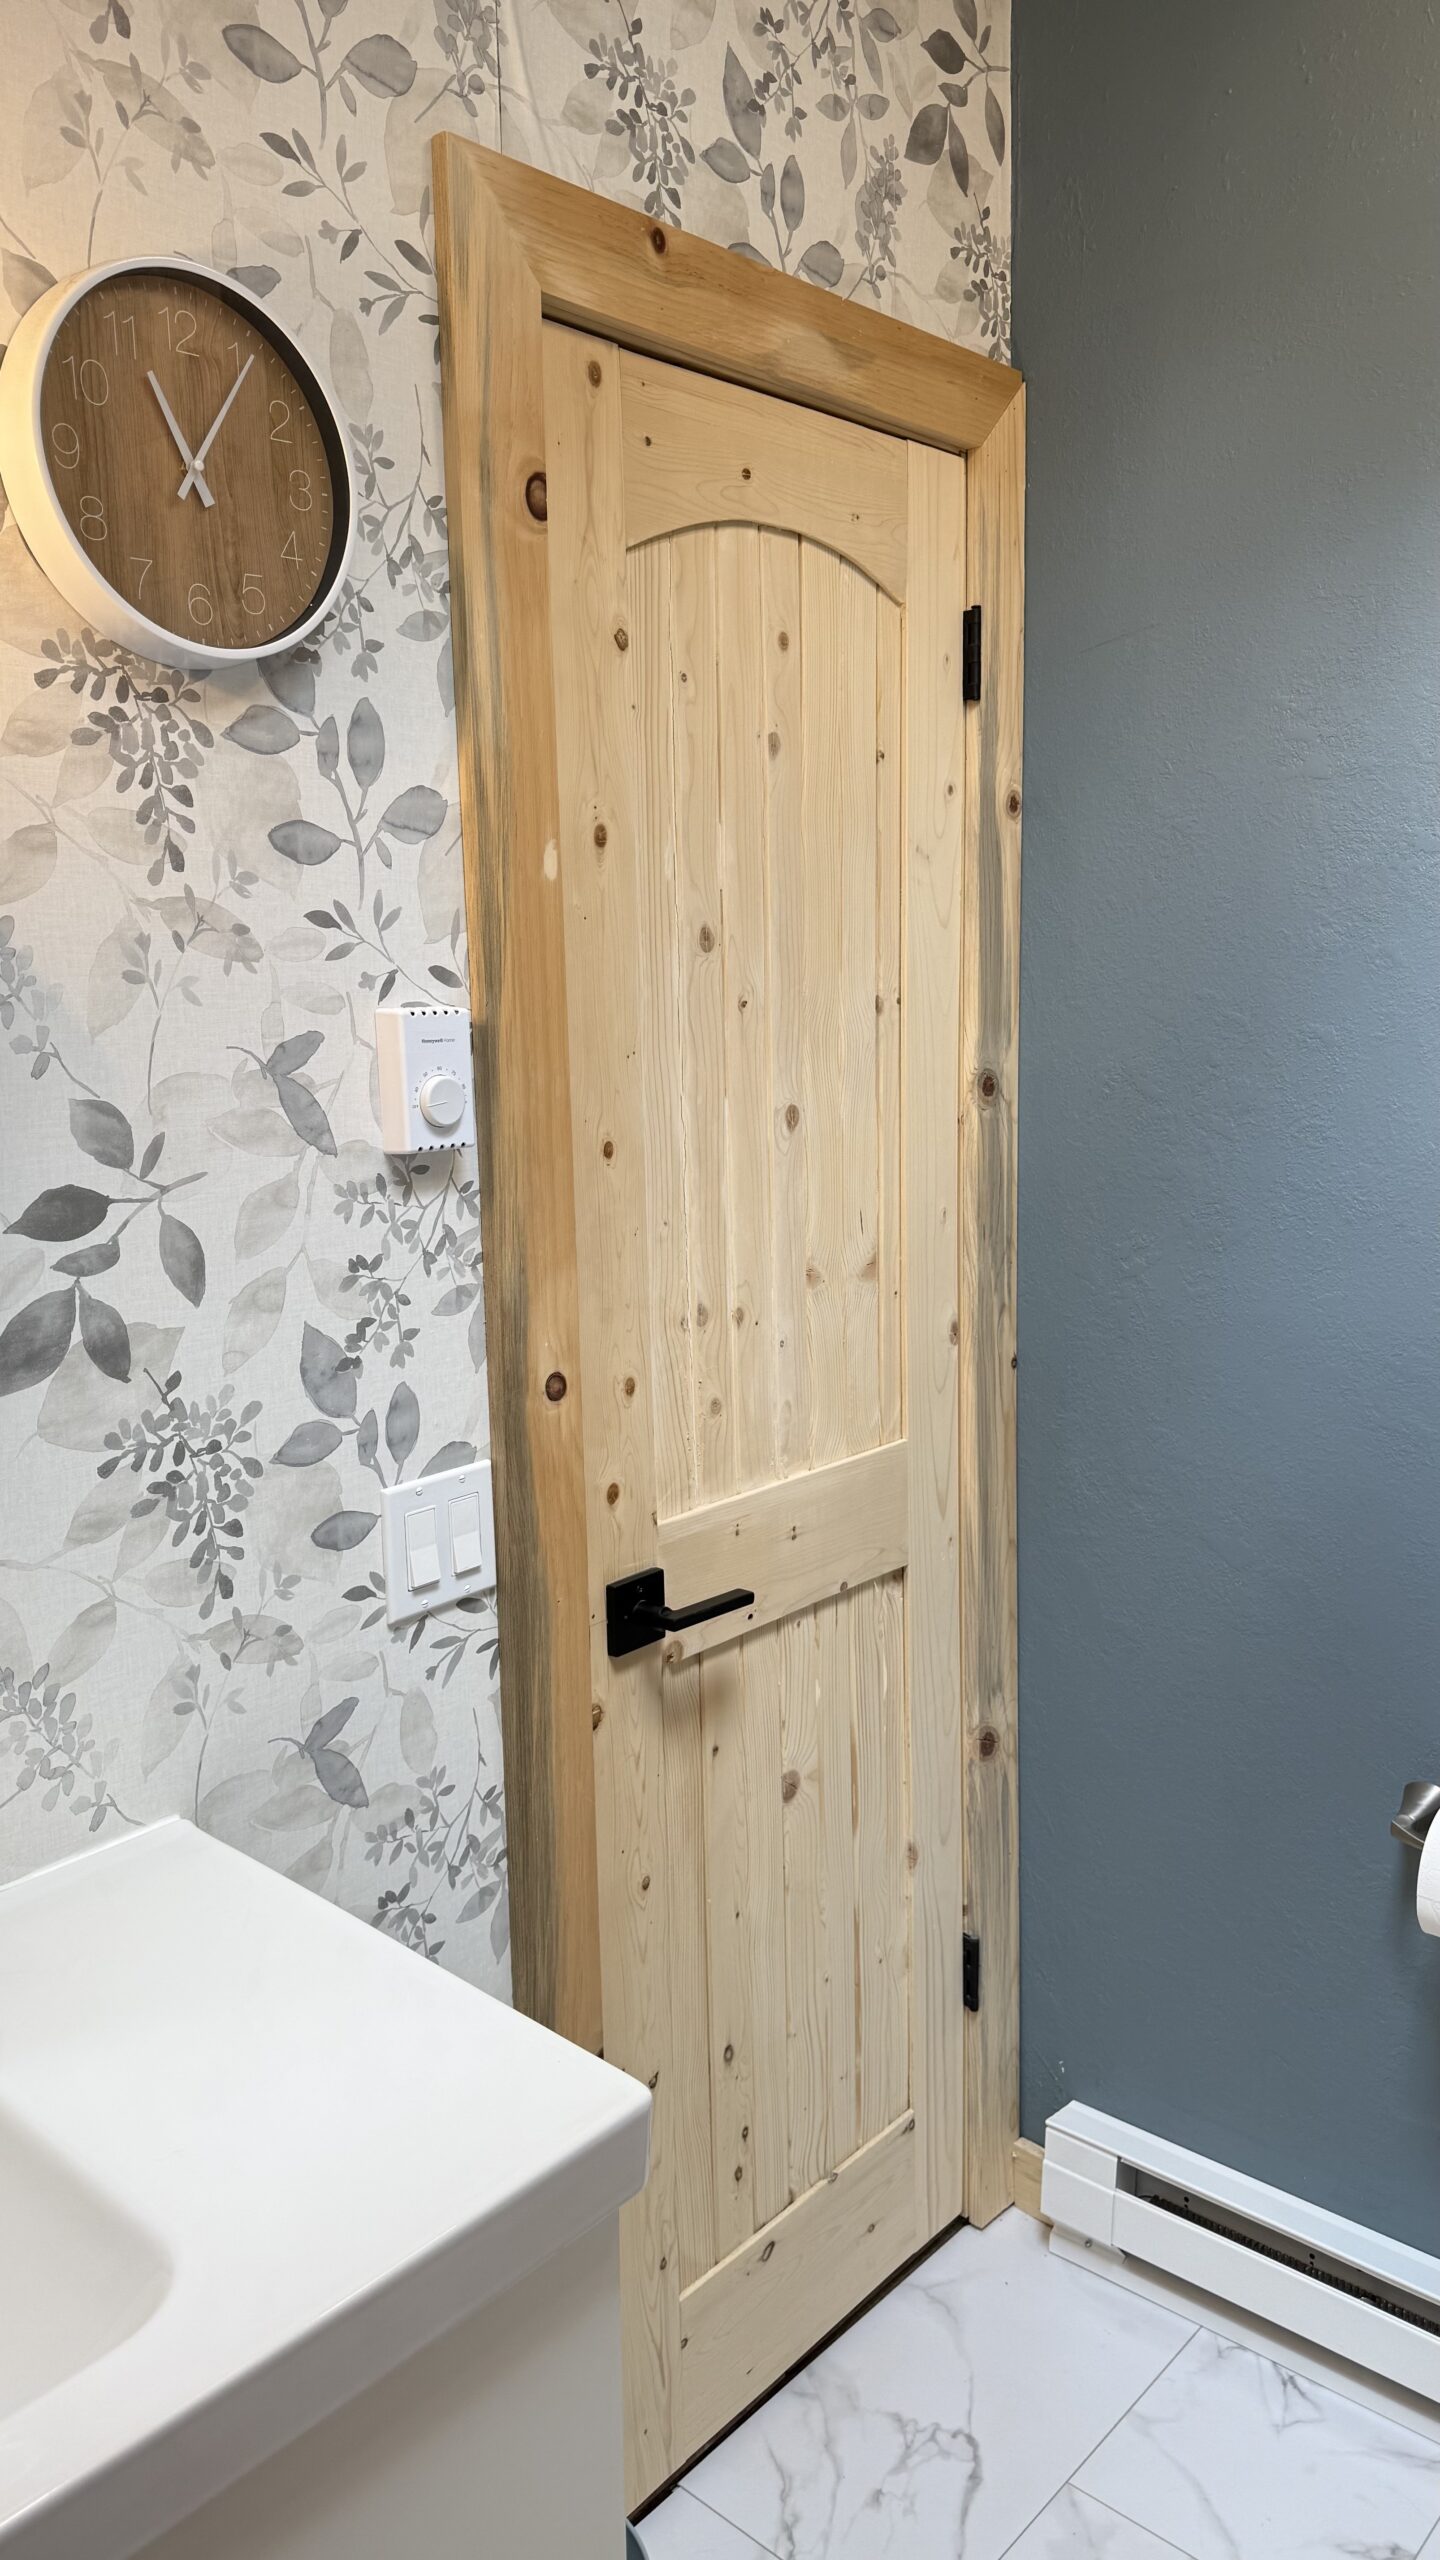
The main goal was to lighten this room up so we went with white. Quite a bit of white. To keep it from being too stark, we went with marble tones for the tile and flooring and natural beetle kill pine for the trim and closet doors to bring in some warmth, without being dark, and also giving a natural Colorado accent.
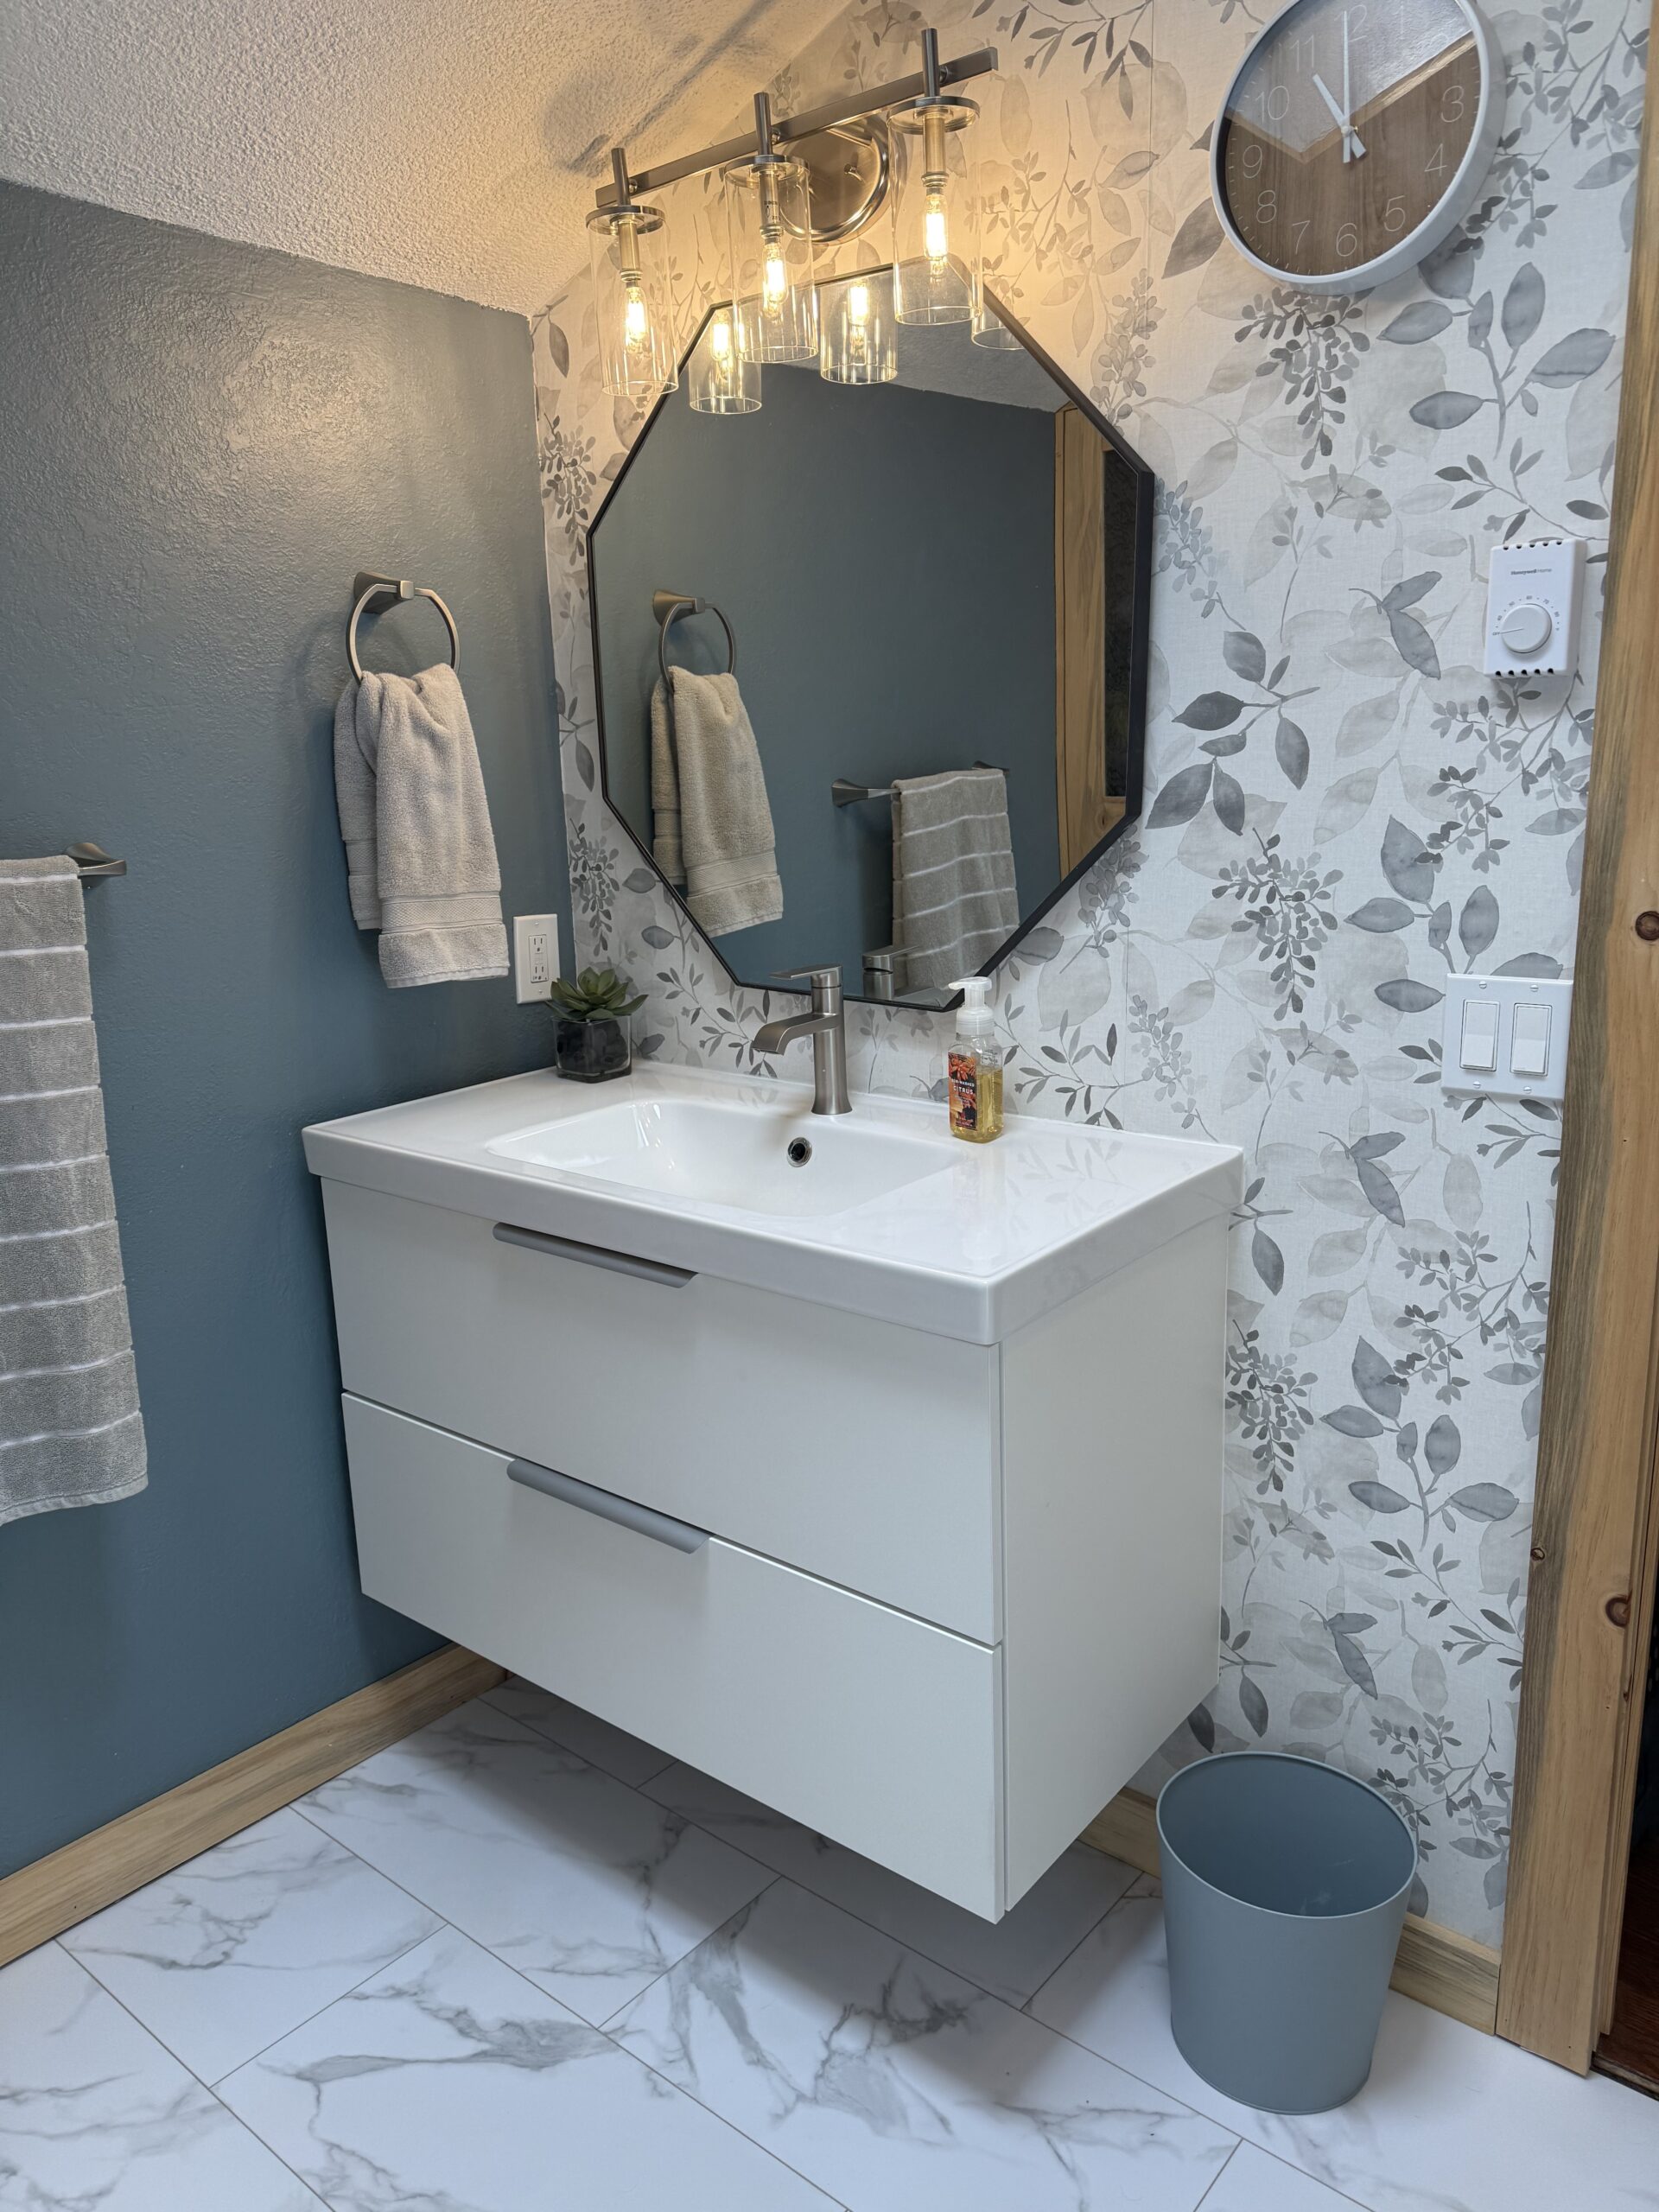
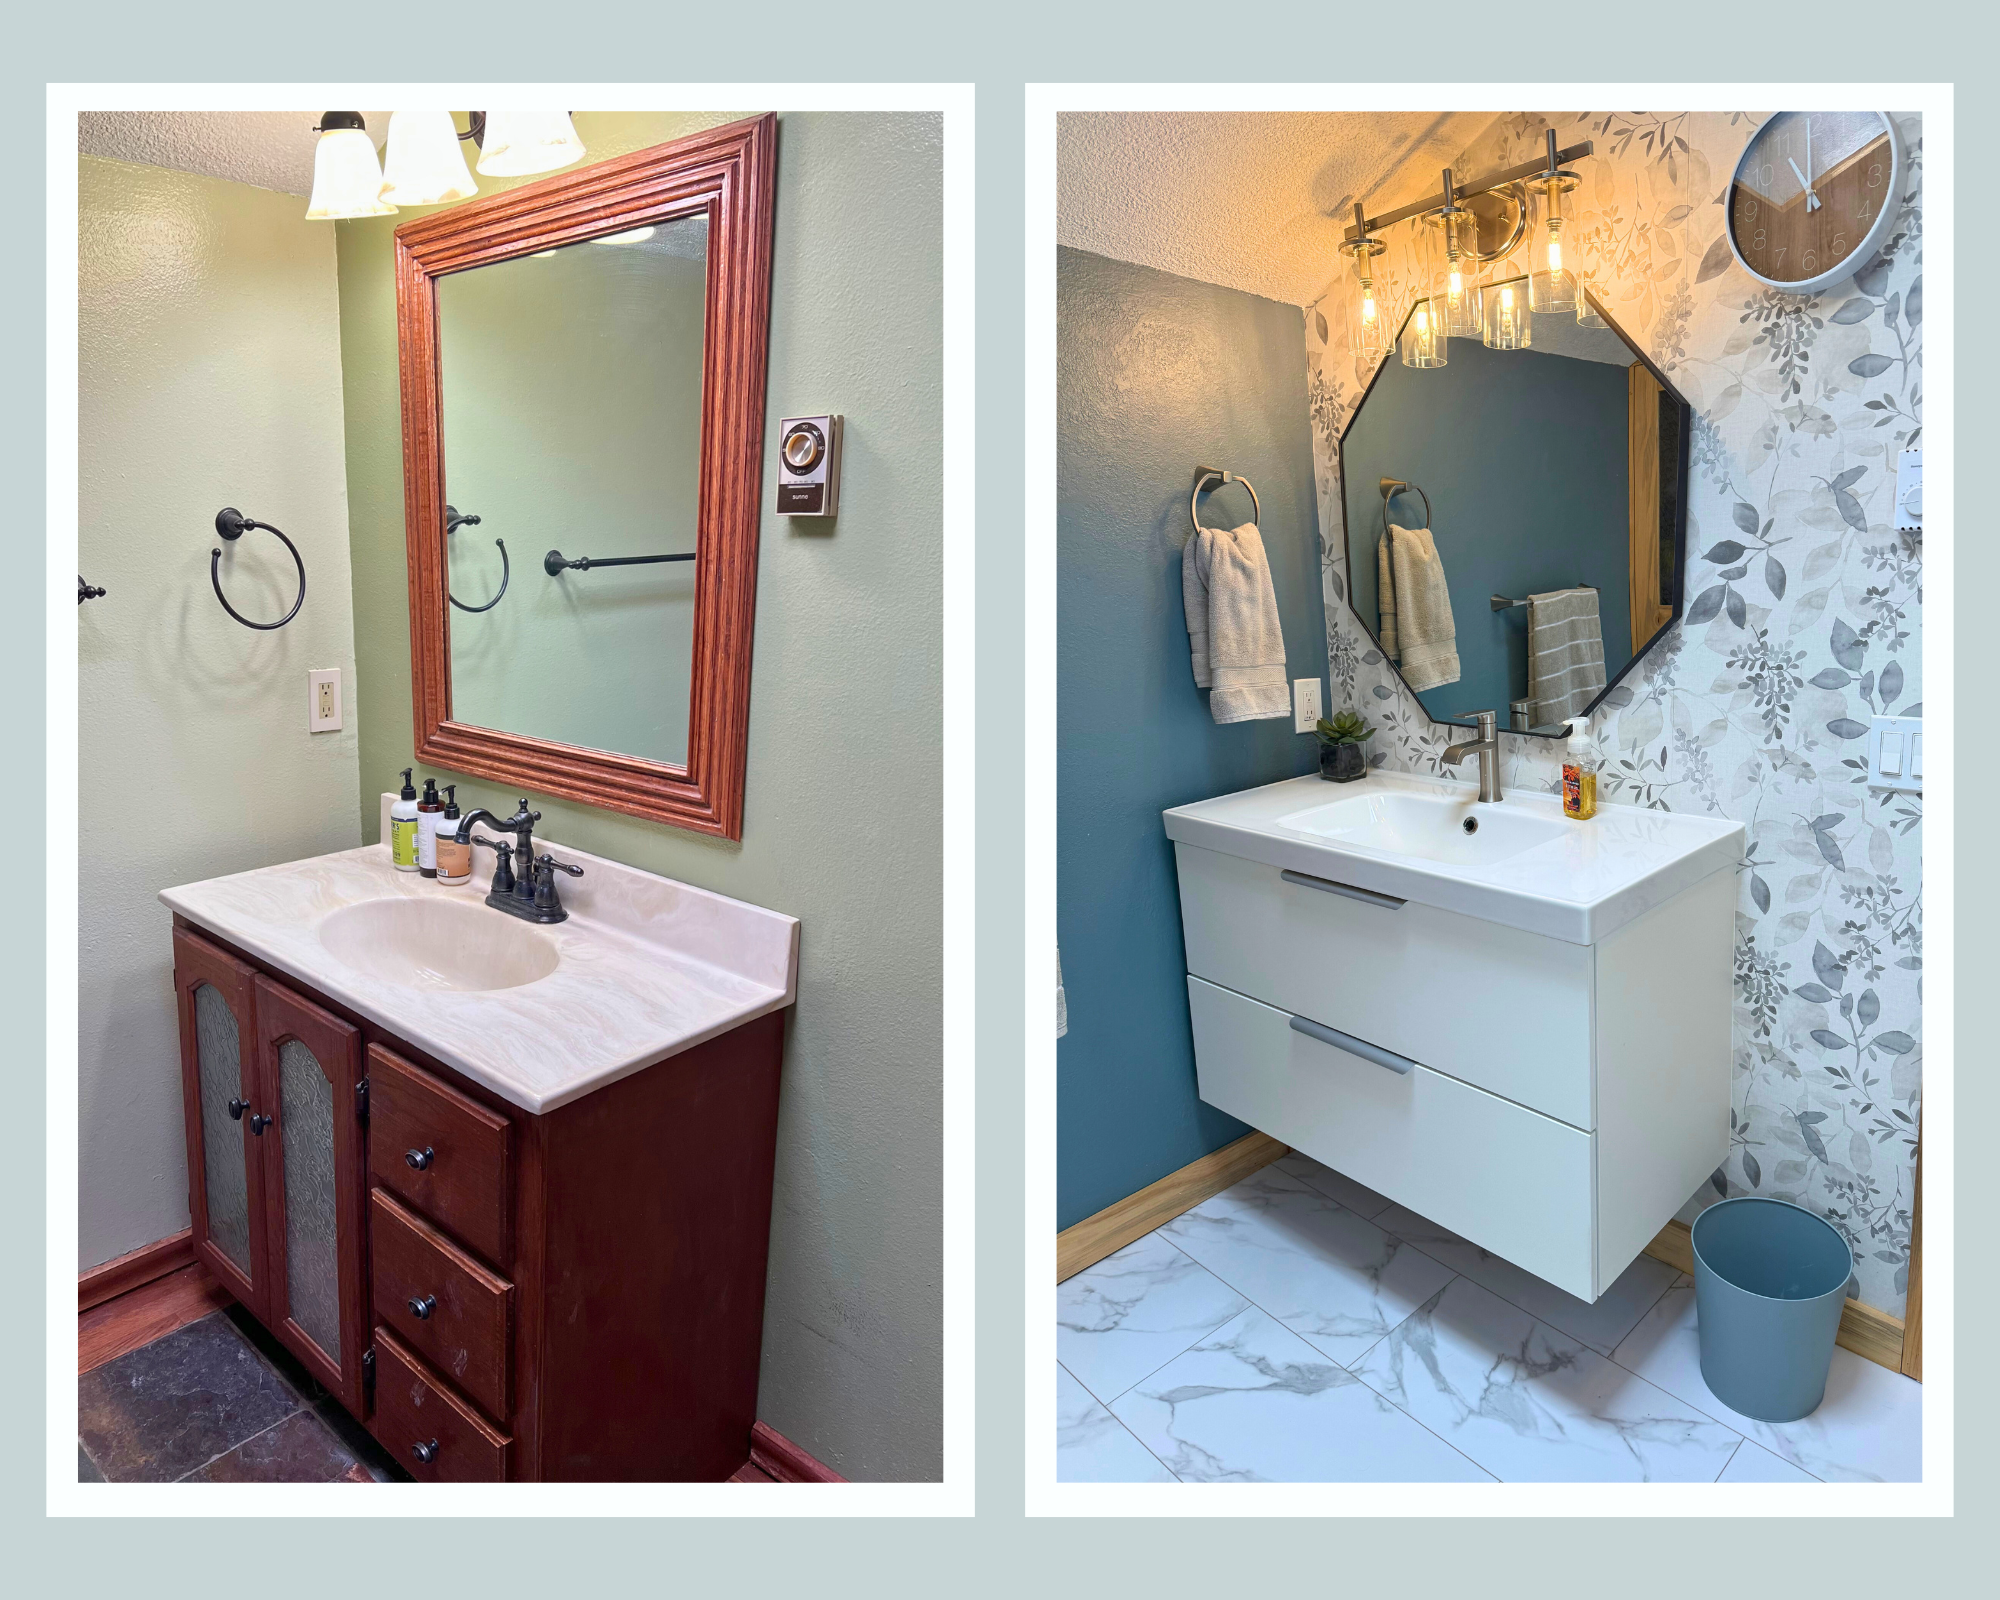
To give open up the small space, we went with a floating vanity (from IKEA). Also white! My original plan was to replace the drawer fronts with a matching wood to add a little more warmth, but after living with it for a while (it’s been on the to-list!), I like the white.
We found that mirror at Home Goods, loved it and went with it. It was a gold color when we got it. Fine, but it didn’t match. So out came the chalk paint to give it a matte charcoal contrast on the white dominant wall.
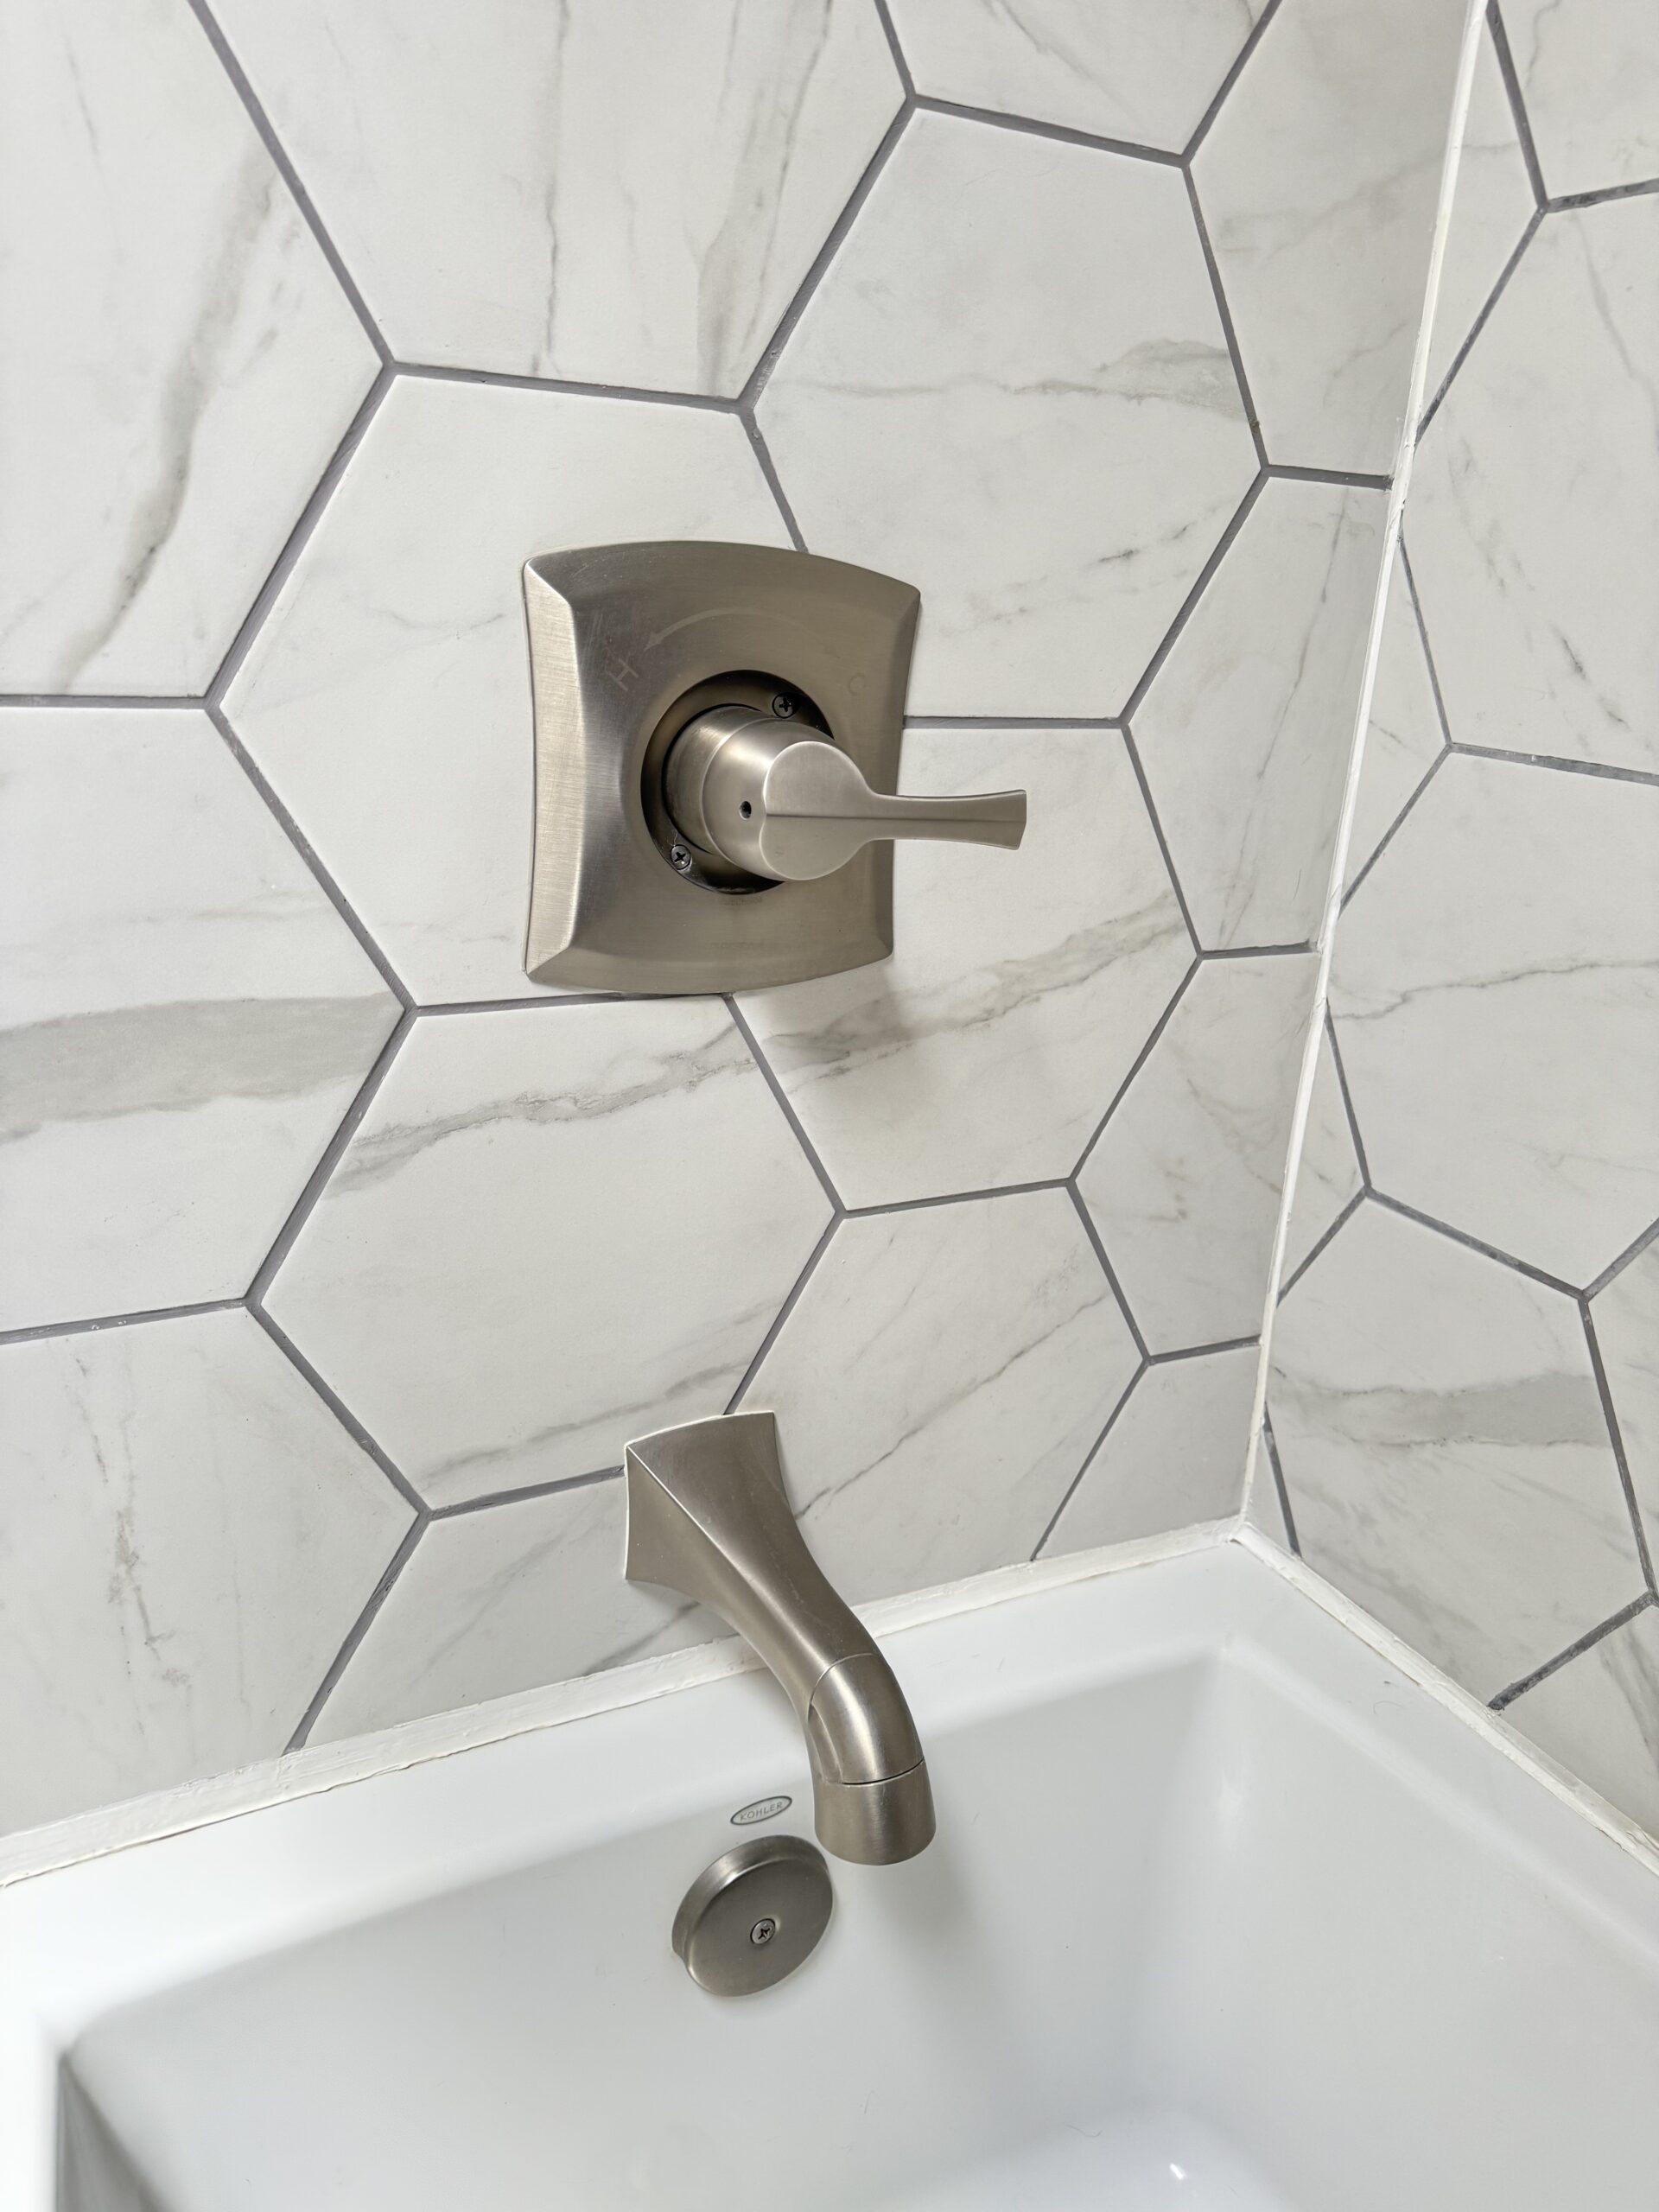
Although I was cursing the tile choice while I was laying it, I LOVE the hex shape, and I think it give this kind of simple bathroom a little bit of an elevated feel. Tile choice is so important, but we are always on the hunt for budget tile without a budget look. We found this tile at Lowes, and I think it meets that criteria. I’d never laid hex tile before, and it had a learning curve for me (it took more perseverance and re-doing than I care to admit), but I am overall really happy with the outcome.
We decided to go with an accent wall on the vanity side and went with a peel and stick wall paper purchased from Home Depot. I had to smooth out the texture on the wall, but that was pretty easy since it was being covered up by the wallpaper. I tried to be lazy and skip that step, and it did not look good. I definitely recommend taking the little bit of extra time and smoothing out the wall for a nice finish.
There was more work on that vanity wall than just smoothing out the orange peel texture. I added in some additional framing for the floating vanity, moved the junction box for the vanity light (I couldn’t handle the off centered situation anymore), and moved the baseboard heater thermostat from the random spot on the wall to above the light switches.
Of course the vanity light was replaced as well as all of the fixtures. And the tub faucet was moved to the “right” place.
This post should probably be about 15 separate posts, but I wanted to give an overall before and after of this first big project in our mountain house!
One Room Down…
This bathroom was definitely a labor of love (emphasis on the labor). But now that it’s done, I’m so glad we tackled it. It’s brighter, cleaner, more functional, and finally feels like it belongs in this house — our house. There are still things I’d probably tweak (isn’t that always the case?), but for our first big renovation in the mountain house, I’m proud of how it turned out. Hopefully this gives you some ideas, inspiration, or just reassurance that yes — it’s totally normal to curse your tile mid-project and still love the result in the end.
Next up: the kitchen! Another round of chaos, creativity, and lessons learned — and I can’t wait to share it soon.